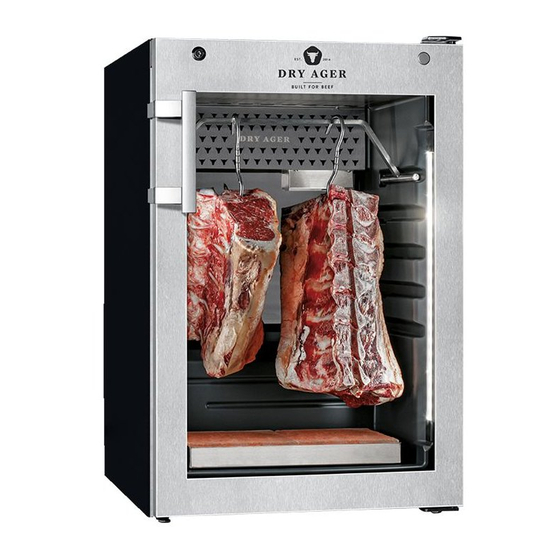
DRY AGER DX 500 Podręcznik użytkownika - Strona 5
Przeglądaj online lub pobierz pdf Podręcznik użytkownika dla Akcesoria DRY AGER DX 500. DRY AGER DX 500 14 stron.
Również dla DRY AGER DX 500: Instrukcja obsługi (17 strony), Instrukcje dotyczące wymiany (2 strony)

Setting up the unit
• Do not set up the unit in an area of direct sunlight, next to a stove,
heater or similar.
• The floor at the set-up location should be horizontal and even.
Compensate for unevenness using the adjustable feet.
• Do not cover ventilation openings
or ventilation grilles.
• According to the EN 378 standard, the instal-
lation room of the unit must have a volume
of 1 m
3
per 8 g of refrigerant charge R600a, so
that in the event of a leakage of the refriger-
ant circuit, no ignitable gas-air mixture can
develop in the installation room of the unit.
The refrigerant quantity is indicated on the
type plate inside the unit (page 14).
• Always install the unit directly against the
wall or install it professionally.
• Remove the orange transport lock.
• Install door handle
1. Screw the door handle tight.
2. Push on the pressure plates until
they engage.
• The floor on which the unit is placed
should be horizontal and level.
Compensate for uneven floors with
the adjustable feet.
Preparing the unit
1. Clean the unit and accessories
See section Cleaning, page 13.
2. Insert the hangers
Hangers
8
3. Insert grid- and bottom shelf
Grid shelf
Bottom shelf
Loading the unit with food
Important note: In order to obtain an optimum end product, it is
necessary not to overload the unit and to ensure sufficient space
between the products. For example, for sausage production in the
DX 500 Premium S, the optimum quantity for loading is 4 kg.
1. Food selection
IMPORTANT
Only use food with a maintained cold chain, that has
been handled under perfectly hygienic conditions.
Notes for suitable meat:
• If possible, use fresh meat on the bone no later than 5 days after
slaughter or max. 2 weeks vacuum matured meat (remove foil for
dry aging).
• Use half saddle or individual cuts (at least 2 kg).
• Use meat with a sufficiently thick protective layer of fat to minimize
weight loss during dry aging.
• Recommendation for Dry Aged beef: half saddle from a heifer with
good fat layer and marbling.
3. Loading the unit
IMPORTANT
Defrost frozen goods before placing them in the unit.
Wear clean protective clothing (gloves etc) (when
handling food).
For optimum Dry Aging, air circulation around the
food is required: avoid mutual contact of food and its
contact with the inner container.
• The humidity control only works properly when the unit is loaded
with food.
Option 1: Store food hanging
Example meat
Option 2: Store food horizontally
Example meat
back
front
4. Considering maturing time
Many SmartAging® programs specify a aging period. For other
programs as well as in Standard Mode, the following times can be
considered as a rough guide:
Fresh beef
~ 21-28 days
Fresh pork
~ 14-21 days
Vacuum packed meat
up to 14-18 days
Remove foil before Dry Aging
During operation
IMPORTANT
It must be ensured that the power supply is not
interrupted for long periods of time, in order to
maintain the desired microclimate in the unit.
In the event of a power failure that occurs during
an aging program, the program progress of the
selected program remains saved.
Clean the unit regularly (see section Cleaning,
page 13).
Check the food regularly. If mold is present, an un-
usual odor(e.g. pungent, putrid) or any other possi-
ble contamination is detected, dispose of the food
in accordance with local rules and regulations.
Clean the unit thoroughly, according to the section
Cleaning (page 13).
Switching off the unit
After completion of the aging process, before cleaning the unit or for
other reasons, the unit can be switched off as follows:
Press and hold button
until "oFF" is displayed and
led 4 lights up. The unit is now in standby mode with the
compressor switched off.
If the unit is not to be used for a longer period of time, switch it off
and disconnect the power plug or trigger the fuse or unscrew it. Clean
the unit and leave the door open to avoid odors building up.
9
