Daikin R32 Split Series Instrukcja instalacji - Strona 4

Przeglądaj online lub pobierz pdf Instrukcja instalacji dla Wentylator Daikin R32 Split Series. Daikin R32 Split Series 13 stron. R32 split series
Również dla Daikin R32 Split Series: Instrukcja instalacji (17 strony), Instrukcja instalacji (16 strony), Instrukcja instalacji (16 strony), Instrukcja instalacji (16 strony), Instrukcja instalacji (17 strony), Instrukcja instalacji (16 strony), Instrukcja instalacji (20 strony), Instrukcja instalacji (14 strony), Instrukcja instalacji (14 strony), Instrukcja obsługi (16 strony), Instrukcja obsługi (16 strony), Instrukcja obsługi (8 strony), Instrukcja instalacji (17 strony), Instrukcja instalacji (16 strony), Instrukcja instalacji (20 strony), Instrukcja instalacji (20 strony), Instrukcja instalacji (16 strony), Instrukcja instalacji (16 strony), Instrukcja instalacji (14 strony), Instrukcja instalacji (14 strony), Instrukcja instalacji (16 strony), Instrukcja instalacji (17 strony), Instrukcja instalacji (20 strony)
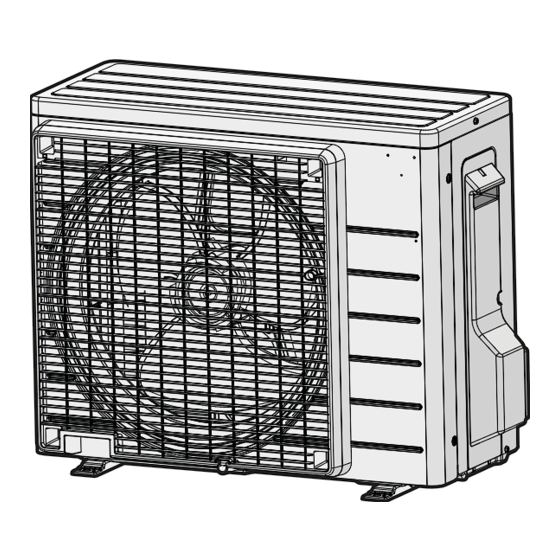
Daikin R32 Split Series Instrukcja instalacji
3 Preparation
1
2
2.1.2
To remove the accessories from the
outdoor unit
1 Lift the outdoor unit.
2 Remove the accessories at the bottom of the package.
a
b
c
d
a
General safety precautions
b
Outdoor unit installation manual
c
Fluorinated greenhouse gases label
d
Multilingual fluorinated greenhouse gases label
e
Drain plug (located on the bottom of the packing case)
3
Preparation
3.1

Preparing the installation site

WARNING
The appliance shall be stored in a room without
continuously operating ignition sources (example: open
flames, an operating gas appliance or an operating electric
heater).
3.1.1
Installation site requirements of the
outdoor unit
Mind the following spacing guidelines:
>150
>300
b
a
>50
(mm)
Installation manual
4
It is recommended to install a baffle plate when the air outlet is
exposed to wind.
It is recommended to install the outdoor unit with the air inlet facing
the wall and NOT directly exposed to the wind.
3.1.2
Protect the outdoor unit against direct snowfall and take care that the
outdoor unit is NEVER snowed up.
e
In any case, provide at least 300  mm of free space below the unit.
Additionally, make sure the unit is positioned at least 100 mm above
the maximum expected level of snow. See
outdoor unit" on page 5
In heavy snowfall areas it is very important to select an installation
site where the snow will NOT affect the unit. If lateral snowfall is
possible, make sure that the heat exchanger coil is NOT affected by
the snow. If necessary, install a snow cover or shed and a pedestal.
b
>150
See also
a
(mm)
a
Air outlet
b
Air inlet
b
a
Baffle plate
b
Prevailing wind direction
c
Air outlet
Additional installation site requirements
of the outdoor unit in cold climates
c
a
Snow cover or shed
b
Pedestal
c
Prevailing wind direction
d
Air outlet
for more details.
2 4.2 Mounting the outdoor unit [} 5]
b
a
a
c
b
"4.2  Mounting the
(A)RXP20~35M5V1B
R32 split series
3P519299-5B – 2018.12