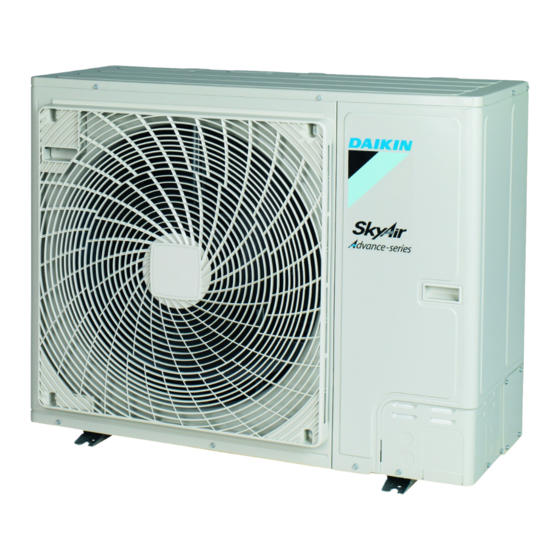
Daikin Sky Air Advance RZA200D7Y1B Instrukcja instalacji - Strona 13
Przeglądaj online lub pobierz pdf Instrukcja instalacji dla Wentylator Daikin Sky Air Advance RZA200D7Y1B. Daikin Sky Air Advance RZA200D7Y1B 20 stron.

WARNING
ALWAYS use multicore cable for power supply cables.
CAUTION
For use of units in applications with temperature alarm
settings it is recommended to foresee a delay of 10
minutes for signalling the alarm in case the alarm
temperature is exceeded. The unit may stop for several
minutes during normal operation for "defrosting the unit", or
when in "thermostat stop" operation.
4.5.1
About electrical compliance
Equipment complying with:
▪ EN/IEC 61000‑3‑12 provided that the short-circuit power S
greater than or equal to the minimum S
point between the user's supply and the public system.
▪ EN/IEC
61000‑3‑12
=
Standard setting the limits for harmonic currents produced by
equipment connected to public low-voltage systems with input
current >16 A and ≤75 A per phase.
▪ It is the responsibility of the installer or user of the equipment to
ensure, by consultation with the distribution network operator if
necessary, that the equipment is connected only to a supply
with a short-circuit power S
minimum S
value.
sc
Model
RZA200D7Y1B
RZA250D7Y1B
4.5.2
Specifications of standard wiring
components
Component
(a)
Power supply
MCA
cable
Voltage range
Phase
Frequency
Wire sizes
Interconnection cables
Recommended field fuse
Earth leakage circuit breaker
(a)
MCA=Minimum circuit ampacity. Stated values are
maximum values (see electrical data of combination with
indoor units for exact values).
4.5.3
To connect the electrical wiring on the
outdoor unit
NOTICE
▪ Follow the wiring diagram (delivered with the unit,
located at the inside of the service cover).
▪ Make sure the electrical wiring does NOT obstruct
proper reattachment of the service cover.
1 Remove the service cover.
2 Connect the interconnection cables and power supply as
follows:
RZA200+250D7Y1B
Sky Air Advance-series
4P573384-1 – 2019.04
sc
value at the interface
sc
European/International
Technical
greater than or equal to the
sc
Minimum S
value
sc
2169 kVA
2169 kVA
RZA200
RZA250
18.6 A
19.9 A
380~415 V
3N~
50 Hz
Must comply with applicable
legislation
H05VV-U4G2.5
20 A
Must comply with applicable
legislation
3N~ 50 Hz
380-415 V
L1 L2 L3
c
d
L1 L2 L3
a
a
e
is
a
a
I, II, III, IV
Pair, twin, triple, double twin
M, S
Master, slave
a
Interconnection cables
b
Power supply cable
c
Earth leakage circuit breaker
d
Fuse
e
User interface
INFORMATION
Some indoor units may need a separate power supply in
order to guarantee maximum capacity. See the installation
manual of the indoor unit.
b
d
a
Interconnection cable
b
Power supply cable
c
Earth
d
Cable tie
3 Fix the cables (power supply and interconnection cable) with a
cable tie to the stop valve attachment plate and route the wiring
according to the illustration above.
4 Choose a knockout hole and remove the knockout hole by
tapping on the attachment points with a flat head screwdriver
and a hammer.
5 Route the wiring through the frame and connect the wiring to
the frame at the knockout hole.
4 Installation
b
N
c
a
d
Installation manual
13
