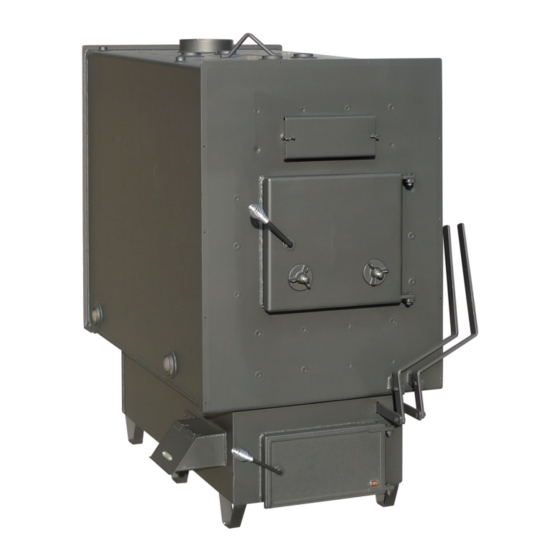
DS Stoves DS6000 Instrukcja obsługi - Strona 6
Przeglądaj online lub pobierz pdf Instrukcja obsługi dla Kocioł DS Stoves DS6000. DS Stoves DS6000 13 stron. Power boilers

Power Boiler Manual 2017.qxp_Layout 1 2/13/17 9:32 AM Page 6
ALL BOILERS MUST BE INSTALLED BY A NFI CERTIFIED SPECIALIST AND PLUMBED BY A
QUALIFIED LICENSED PLUMBER OR D.S. IS NOT RESPONSIBLE FOR WARRANTY
Locating Boiler
1 - The boiler must be placed on a solid none combustible
floor. If you have a combustible floor it is
required to use a code approved none combustible floor board
(Type 1 Board)
2 - It is recommended that the boiler be centrally located.
3 - The most important consideration in installing your boiler
is adequate clearance between the boiler and any combustible
surface. A boiler that is placed too close to a wall or to furniture
can cause a fire. See chart at right for clearances to
combustibles.
4 - The non-combustible base must extend at least 16" be-
yond the front and 8" of the back, and sides of fuel opening,
and must extend under and 2" beyond either side of the single
wall chimney connectors if it's elbowed towards a wall.
5 - The boiler or furnace must have its own flue. Do not con-
nect this unit to a chimney flue serving other appliances.
6 - Connection of the boiler to the chimney should be made as
directly as possible (6 feet maximum horizontal) and not more
than two bends. No reduction in flue pipe below the exhaust di-
ameter should be used.
Keep furnishings and other combustible
materials away from the boiler.
The pipe connecting the stove to the chimney should be at least
24 gauge. Thicker gauges are available and will resist corrosion
longer and need fewer replacements. Slope the flue pipe back
towards the heater, 1/4" per foot of horizontal run. That way if any condensation forms in the pipe it will be car-
ried back into the heater. The connector pipe should be installed so that the upper pipe section fits inside the
CAUTION:
Clearance to Combustibles
A - 30# Safety Valve
B - Domestic Coil
C - Exhaust
D - 2" Hot Water Out
E - Temp. Pressure Gauge
F - High Limit Aquastat
G - Samson Regulator
H - 2" Water Return on side
lower section. This way any condensation building up
inside the pipe will stay inside the pipe as it flows
down the inside surface. Horizontal pipe runs should
have the pipe seams turned up. Particular attention
should be paid to the point where the flue passes
through a wall or ceiling. This penetration should al-
ways be made with a thimble, insulated pipe, and
then proper accessories following manufacturers in-
structions. Chimney connectors must not pass
through the ceiling, concealed spaces, or enter the
chimney in the attic, unless proper clearance or
insulated pipe is used following manufacturers
instructions.
REMEMBER single wall chimney connector adapter.
Where the pipe connects to a masonry chimney. The
flu to the chimney should be larger than the single
wall chimney connector so you can insert the pipe out
to the inside edge of the chimney, but not past. Then
seal as tight as possible and cover with a single wall
chimney connector collar.
6
