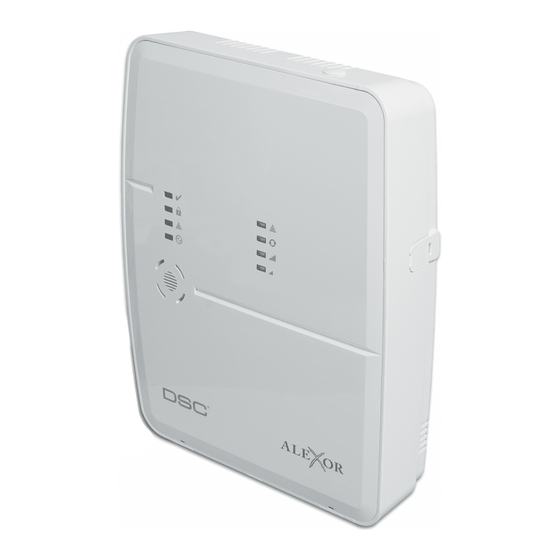
DSC WT5500 Skrócona instrukcja instalacji - Strona 2
Przeglądaj online lub pobierz pdf Skrócona instrukcja instalacji dla Keypad DSC WT5500. DSC WT5500 2 stron. Wireless panel & keypad
Również dla DSC WT5500: Instrukcja instalacji (8 strony)

5. Power Up the WT5500 Keypad
Remove the mounting bracket from the keypad and insert batteries.
6. Enroll the Keypad and Wireless Devices into the Panel
Press star (*) and 1 to enroll. This must take place within the first two minutes of
powering up ALEXOR. Keypad will display "WFKP Enrollment Successful"message.
To enroll wireless devices, use the quick enroll feature found within installers
programming section [898].
7. Mount the Keypad onto the Wall
Using the screws provided, mount the keypad bracket onto the wall.
Set keypad onto the wall bracket and snap into place.
8. Program ALEXOR
Perform template programming found in section [899]. Enter the 4 digit code which
represents the functions required for basic operation through template programming.
Code prompts exist for pre-defined zone definitions, reporting code formats,
communication call directions, and DLS setup. Once all codes have been programmed,
you will be prompted to enter the monitoring station phone number and account code,
DLS access code, entry and exit delays, and installer code.
9. Perform Placement Testing
The proposed placement of each wireless device should be tested before it is mounted
by entering section [904]-[906]. Testing the signal strength between ALEXOR and
wireless devices can be accomplished in a group (global placement test) or individually.
Installation Complete!
PA N E L S, K E Y PA D S & M O D U L E S
Quick-Start Installation Guide
Wireless Panel & WT5500 Keypad
For product information
www.dsc.com
Product specifications and availability subject to
change without notice. Certain product names
mentioned herein may be trade names and/or
registered trademarks of other companies.
©2009 2009-03
