DSPeaker Anti-Mode 8033S-II Podręcznik użytkownika - Strona 7
Przeglądaj online lub pobierz pdf Podręcznik użytkownika dla Korektor stereo DSPeaker Anti-Mode 8033S-II. DSPeaker Anti-Mode 8033S-II 20 stron. Automatic subwoofer equalizer

A
-M
8033
/ 8033S-II
NTI
ODE
CINEMA
2.1. Before Calibration
If you have a small reflex subwoofer, decrease its volume before calibration. If the subwoofer has
a built-in low-pass or other type of filter, it should be deactivated before the calibration process and
re-activated after calibration. Cross-over and low-pass filters in the AVR do not affect calibration
since they take place before the Anti-Mode 8033 in the signal chain. Also, any other audio
equipment connected before the Anti-Mode 8033 will not interfere with the calibration process.
Pay close attention to the vertical positioning (height) of the calibration microphone since proper
room mode correction may be affected. The microphone is omnidirectional, so its precise
orientation doesn't matter. If you use your subwoofer with doors closed, keep them closed during
the calibration. If you want the room correction to affect a wider area, the first calibration point
should be selected near the center of the listening area (or the primary listening position). More
about Wider Area Correction in section 3.
2.2. Calibration
If you have the Anti-Mode 8033S-II and a dipole (open-baffle) subwoofer, select the preferred
dipole correction mode before starting the calibration. (See the section 4.6 on "Low-pass Filter
Selection".)
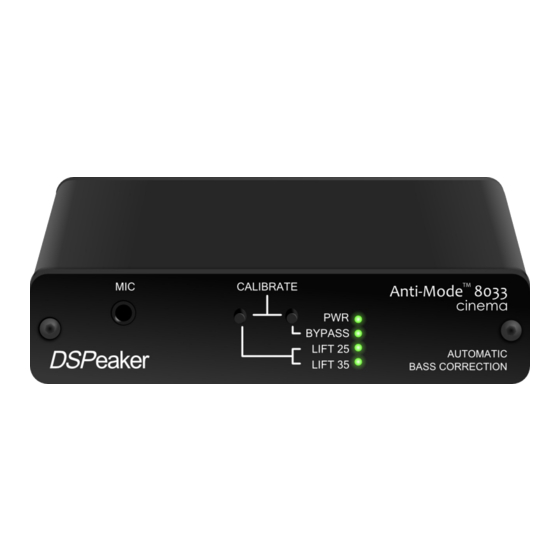
Press both the LIFT and BYPASS buttons on the front panel and hold them down to start the
calibration process. Make sure that both of the buttons are pressed down at the same time. After a
couple of seconds the LIFT25 LED starts flashing and calibration begins. Now release the buttons
and wait for the automatic calibration to finish. The measurement program analyzes the room
utilizing four to six frequency sweeps.
The calibration starts with a moderate output volume. The measurement routine allows wide range
of input levels. The input level warning LED (BYPASS LED) starts to flicker if less than 3.0 dB of
headroom is left during measurement. If this persists the generated output level is adjusted down.
If the microphone is near overflow, the sweep is restarted.
The calibration process is very robust and it tolerates background noise very well, therefore
speech and small noises do not affect the process. However, one should avoid making loud
noises, especially near the microphone. For example, tapping the microphone or its cable can
overflow the microphone input, causing the calibration process to restart.
Tip: Tapping the microphone with a finger is an easy way to test the microphone, you will see the
BYPASS LED flicker. A harder tap will restart the calibration process.
Rev. 2.0
18.06.2012
Page 7 (20)
