DSR INC100 Instrukcja obsługi - Strona 7
Przeglądaj online lub pobierz pdf Instrukcja obsługi dla Zasilanie DSR INC100. DSR INC100 16 stron. Battery charger/power supply

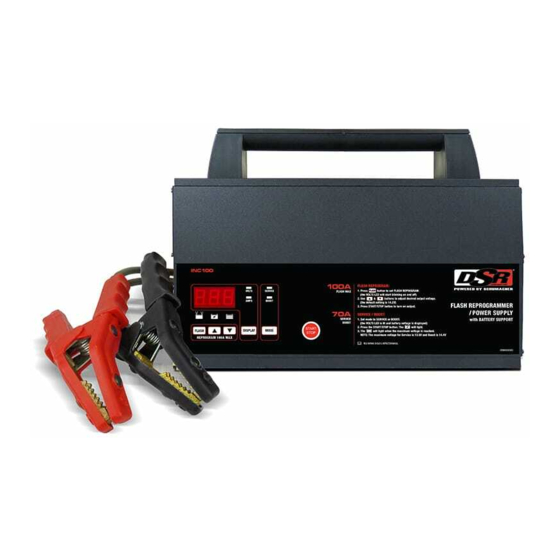
Mode Button
Use this button to select between the AUTOMATIC CHARGE, MANUAL CHARGE
and FLASH REPROGRAM function. See Operating Instructions for details of these functions.
Battery Type/Desulfation Mode Button
Set the type of battery to be charged, or Desulfation Mode.
• Ca/Ca (Calcium) – Calcium batteries are acid batteries impregnated with calcium.
• AGM/GEL (Absorbed Glass Mat/Gel Cell) – AGM batteries have electrolyte absorbed
in separators consisting of a sponge-like mass of matted glass fiber. Gel batteries contain
gelled electrolytes. These batteries are sealed with valves and should not be opened.
•
Desulfation Mode – If the battery is left discharged for an extended period
of time, it could become sulfated and not accept normal charge. If you select
the charger will switch to a special mode of operation designed for sulfated batteries.
NOTE: When charging a battery that is not marked, check the manual of the item which
uses the battery for the correct battery type. Make sure the battery complies with the safety
instructions in Section 2.3.
Charge Rate Button
Use this button to set the maximum charge rate to one of the following:
• 4A Charge Rate – For charging small batteries, such as those commonly used in
garden tractors, snowmobiles and motorcycles.
• 20A and 70A Charge Rate – For charging automotive and marine batteries.
NOTE: Charge rate cannot be selected while using Desulfation Mode.
10. OPERATING INSTRUCTIONS
Battery Information
This charger can be used with 12V batteries with rated capacities of 12 Ah to 111 Ah.
Charger Operation
NOTE: Once automatic charging or flash reprogramming has started, the buttons will not
work until you turn off the output, with the exception of
and
also still operate normally.) When the display shows , no buttons will work for
five seconds as the charger automatically goes back to the default settings.
Automatic Charging
1. Connect the battery and AC power, following the precautions listed in sections 5, 6 and 7.
2. Set the BATTERY TYPE to Ca/Ca, AGM/GEL or Desulfation.
3. Set the MODE to AUTOMATIC CHARGE.
4. Set the CHARGE RATE to 4A, 20A or 70A.
NOTE: Charge rate cannot be selected while using Desulfation Mode.
5. Press
when you are ready to start charging.
6. The CHARGING (yellow/orange) LED will light.
NOTE: Automatic charging starts only if the CONNECTED LED is lit and the battery has at least
a 1V charge. If the battery is less than 1V, press and hold
Charging, or charge it in Manual mode for five minutes then switch back to Automatic Charge.
7. The CHARGED (green) LED will light when charging is complete and the charger has
gone into maintain mode.
Manual Charging
1. Connect the battery and AC power following the precautions listed in sections 5, 6 and 7.
2. Set the BATTERY TYPE to Ca/Ca, AGM/GEL or Desulfation.
3. Set the MODE to MANUAL CHARGE. (The TIME LED will start blinking.)
4. Use
and
battery. Set to to run the charger without a time limit.
to set the time (shown in minutes) you want the charger to charge the
. (In MANUAL mode,
for five seconds to start Automatic
• 7 •
,
