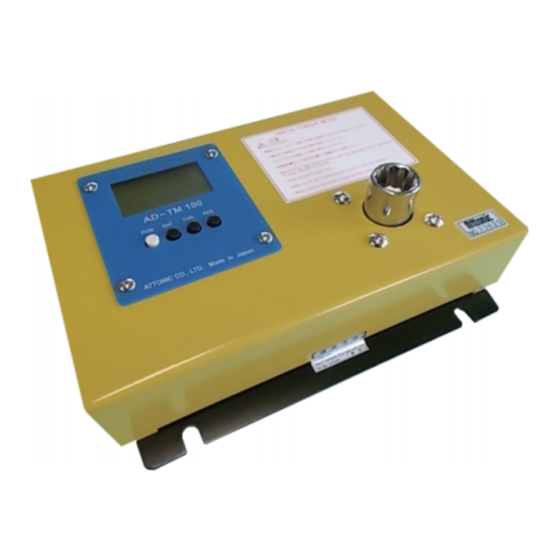
Attonic AD-TM1 Instrukcja obsługi - Strona 18
Przeglądaj online lub pobierz pdf Instrukcja obsługi dla Przyrządy pomiarowe Attonic AD-TM1. Attonic AD-TM1 20 stron.

10.I/O connector
■The pin layout of I/O connector
13
14
Pin No.
Name
1
VBO
2
POW
3
COP
4
INT
5
RES
6
HI
7
OK
8
LO
9
OV
10
CLK
11
DAT
12
RDY
13
REQ
14
GND
* Pin No.10~13 are for Mitutoyo's printer output only.
Mitutoyo's Digimatic Mini Processor (DP-1VA)
■Circuit diagram
Power supply circuit
External
Battery
voltage
voltage
Battery
External
voltage
voltage
Input circuit
* Max. DC24V 20mA
1
2
I/O
Power input (It is also possible to output battery voltage from the circuit board.)
-
POW switch
I
I
Continuous output
I
One-shot output (output the value to the PC when the signal is LO)
RES switch
I
ON when the value is greater than or equal to comparator HI.
O
(ON when the display value of + side is greater than or equal to the setting value in PP mode. )
ON when it is OK.
O
ON when the value is less than or equal to comparator LO.
O
(ON when the display value of - side is greater than or equal to the setting value in PP mode. )
O
ON when it is overloaded.
Digimatic CLK
-
Digimatic DAT
-
-
Digimatic RDY
-
Digimatic REQ
External ground (board ground is also possible)
-
* External supply voltage: max. DC24V
Function
Output circuit
* Max. DC24V 50mA
Load
