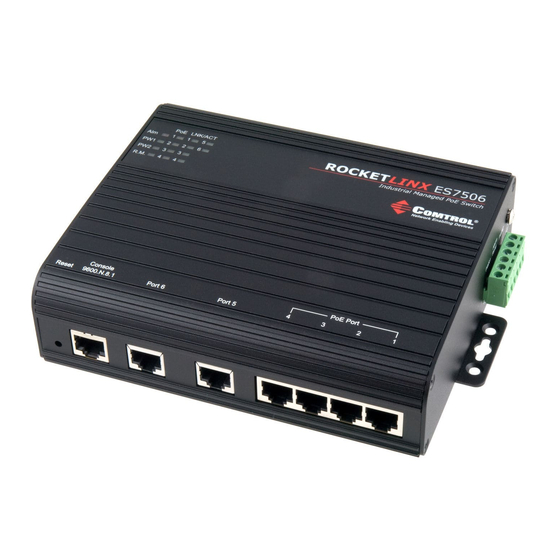
Comtrol ROCKET LINX ES7506 Instrukcja szybkiej instalacji - Strona 5
Przeglądaj online lub pobierz pdf Instrukcja szybkiej instalacji dla Przełącznik Comtrol ROCKET LINX ES7506. Comtrol ROCKET LINX ES7506 8 stron. Industrial 6-port managed poe switch

Always make sure that the cables between the
switches and attached devices (for example,
switch, hub, or workstation) are less than 100
meters (328 feet).
•
10BASE-T: Category 3, 4, or 5 cable
•
100BASE-TX: Category 5 cable
•
IEEE 802.3af: Category 5 cable
PROGRAMMING THE IP
ADDRESS
Configure the IP address using one of the
following methods:
•
PortVision DX (available on the RocketLinx CD shipped with the product)
•
Web browser
•
Telnet
•
Command Line Interface (CLI) using the RS-232 console cable
The easiest way to configure a static IP address for your network in the
ES7506 is to use a Windows host and PortVision DX (see below). For
information about using other configuration methods, refer to the
RocketLinx ES7506 User Guide.
Note: Optionally, you can use NetVision if you are accustomed to using NetVision.
PortVision DX is replacing NetVision. NetVision is not documented in the
RocketLinx ES7506 User Guide.
The following procedure uses PortVision DX to program network settings.
1.
Install PortVision DX on a host system with a Windows operating
system. If you need assistance installing PortVision DX, see the
RocketLinx ES7506 User Guide.
Start PortVision DX. PortVision DX can be started from Start --> All
2.
Programs --> Comtrol --> PortVision DX.
3.
Click the Scan button.
4.
Select the Comtrol product families that you want to locate and click the
Scan button.
(cont. on page 5)
10/100BASE-TX PoE
(Alternative B)
1
2
3
4,5
6
7,8
4
RX+
RX-
TX+
Vport+
TX-
Vport-
