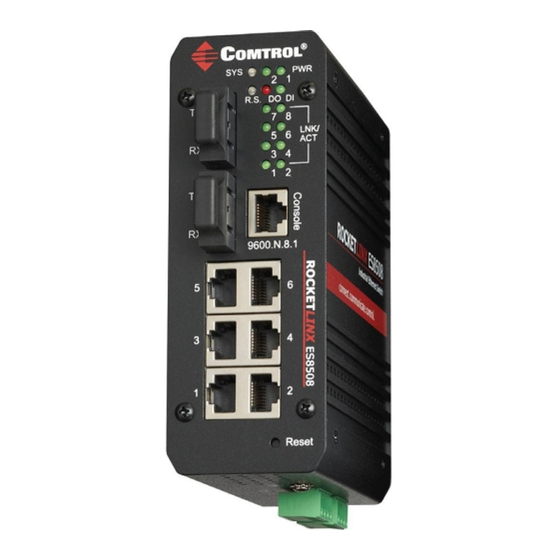
Comtrol Rocket linx ES8505-XT Instrukcja szybkiej instalacji - Strona 4
Przeglądaj online lub pobierz pdf Instrukcja szybkiej instalacji dla Przełącznik Comtrol Rocket linx ES8505-XT. Comtrol Rocket linx ES8505-XT 8 stron. Es8508 series

Wiring the Digital Input
The digital input (DI) contacts
are on the terminal block
connector on the bottom of the
ES8508. The contacts accept
one external DC type signal input
and can be configured to send
alert message through Ethernet
when the signal is changed.
The DI supports isolated input circuit with digital high level input of 11VDC
to 30VDC and digital low level input 0VDC to 10VDC. Do not apply a higher
voltage than the specification; it may cause internal circuit damage or
cause an incorrect DI action.
Grounding the ES8508
Wire the earth ground to ensure the system is not damaged by noise or
any electrical shock, we recommend that you make a direct connection
between the ES8508 and earth ground.
Using a screw driver, loosen the earth ground screw on the bottom of
the ES8508 and then tighten the screw after the earth ground wire is
connected.
Mounting the ES8508
The DIN rail clip is attached to the ES8508.
1.
Insert the upper end of DIN rail clip into the back of DIN rail track from
its upper side.
2.
Lightly push the bottom of DIN rail clip into the track.
3.
Verify that the DIN rail clip is tightly attached on the track.
Connecting RJ45 Ports
Connect one end of an Ethernet cable into the Ethernet port of the ES8508
and the other end to the attached networking device. The RJ45 ports
support 10/100Mbps half/full-duplex. All RJ45 ports auto-detect the signal
3
