Elite EAF-1880D Instrukcja obsługi - Strona 7
Przeglądaj online lub pobierz pdf Instrukcja obsługi dla Fryer Elite EAF-1880D. Elite EAF-1880D 16 stron. 5.5qt. digital oil-free air fryer

1.
Carefully pull out the Drawer Pan (2) from the Main Fryer Base by pulling forward on the
basket handle (3).
2.
Remove the Basket (1) from the Drawer Pan (2), push the Protective Cover (3), and press
down on the Basket Release Button (4) and lift up the basket (see Figure 3).
3.
Place ingredients into Basket (1).
4.
Insert Basket (1) back into the Drawer Pan (2) by inserting into the basket slot. (see
Figure 4).
5.
Slide Drawer Pan (2) back into the Main Fryer Base (see Figure 5). Once in place, the Air
Fryer will beep to let you know it is in position.
HOW TO MANUALLY PROGRAM FRYING TIME AND TEMPERATURE:
1.
Plug Power Cord (9) into an electrical outlet.
2.
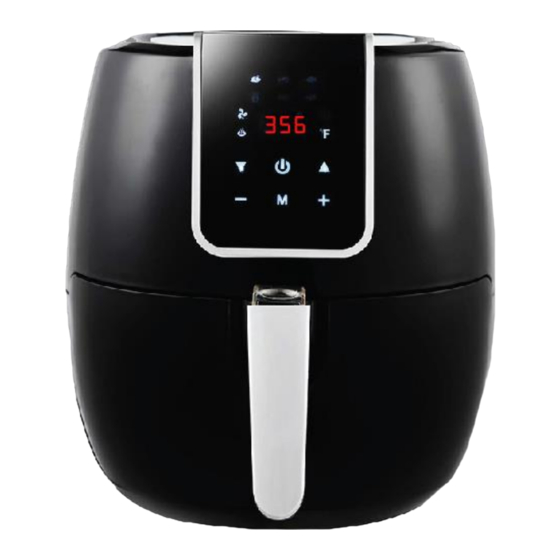
Press and hold the POWER button for 3 seconds to unlock, you will hear a beep and the
LED screen will illuminate. The Digital Display will default to 392°F.
IMPORTANT: If programming is left idle, the unit will begin operation automatically
using the settings displayed on the screen. (Refer to TIP #1).
TIP #1: At any time during cooking, the temperature and time can both be adjusted
using the appropriate buttons. There is no need to tap the START button after adjusting
the time and/or temp.
TIP #2: It is recommended to preheat the air fryer on empty at 365°F for 3 min. if the
appliance is cold. The initial 15 minutes of use may result in minimal smell and smoke.
This is normal and harmless and comes from the protective substance applied to the
heating elements during manufacturing.
3.
Press the Up/Down button for the Temperature setting to adjust to the desired
temperature. Temperature will increase or decrease in 9-degree increments.
4.
Press the +/- button for the Timer setting to adjust to the desired cooking time.
Timer will increase or decrease in 1-minute increments.
5.
Tap the START Button once to begin cooking.
Questions? We're here to help! Visit: www.maxi-matic.com for support on this product.
6
