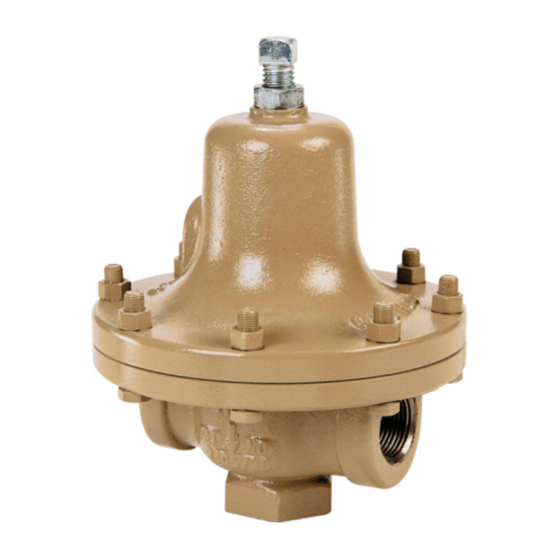
cashco 1164 Instrukcja instalacji, obsługi i konserwacji - Strona 3
Przeglądaj online lub pobierz pdf Instrukcja instalacji, obsługi i konserwacji dla Kontroler cashco 1164. cashco 1164 9 stron. Back pressure / relief regulator
Również dla cashco 1164: Instrukcja instalacji, obsługi i konserwacji (8 strony)

V. SHUTDOWN
1. On systems with a bypass valve, and where system
pressure is to be maintained as the reg u la tor is
shut down, slowly open the bypass valve while
closing the inlet (up stream) block valve. Fully
close the inlet (upstream) block valve. (When on
bypass, the system pressure must be con stant ly
observed and manually regulated.) Close the outlet
(downstream) block valve.
VI. MAINTENANCE
SYSTEM UN DER PRES SURE. Prior to performing any
maintenance, isolate the reg u la tor from the system
and relieve all pres sure. Failure to do so could result in
personal injury.
A. General:
1. Maintenance procedures hereinafter are based
upon re mov al of the regulator from the pipe line
where installed.
2. Owner should refer to owner's procedures for
re mov al, handling, cleaning and disposal of
non-reusable parts, i.e. asbestos gaskets, etc.
3. Refer to Figure 1 for basic regulator
con struc tion. For a blow-up of the TFE seat
trim, see Figure 2.
SPRING UNDER COMPRESSION. Prior to re mov ing
spring chamber, relieve spring com pres sion by back ing
out the ad just ing screw. Failure to do so may result in
flying parts that could cause personal injury.
B. Diaphragm Replacement:
1. Securely install the body (1) in a vise with the
spring chamber (2) directed upwards.
2. Relax range spring (3) by turning adjusting
screw (17) CCW until removed from spring
chamber (2).
3. Draw or embed a match mark between body
casting (1) and spring chamber casting (2)
along flanged area.
4. Remove all diaphragm flange nuts (14) and
bolts (13).
IOM-1164
WARNING
WARNING
SECTION V
Do not walk away and leave a bypassed reg u la tor
unattended.
2. If the regulator and system are both to be shut down,
slowly close the inlet (upstream) block valve. Close
the outlet (downstream) valve only if reg u la tor
removal is required.
SECTION VI
5. Remove spring chamber (2), range spring (3)
and spring button (4).
6. Remove
to ensure no deformation due to over-
pres sur iza tion. If deformed, replace.
7. Remove diaphragm (9), diaphragm gasket
(10), and O-ring (11).
8. Clean body (1) and diaphragm flange. NOTE:
On valves originally supplied as "special
cleaned", option 1164-55, main te nance must
include a level of clean li ness equal to Cashco's
cleaning standard #S-1134. Contact factory
for details.
9. Install new O-ring (11), diaphragm gasket (10),
and di a phragm. Apply a light coat of gasket
sealant.
When reassembling, the spring (7) will be under
compression. Center all internal parts be fore plac ing the
spring chamber.
10.
Center pressure plate (5) on diaphragm (9).
Place the range spring (3) on to the retainer
hub of the pressure plate (5).
11.
Place multi-purpose, high temperature grease
into de pres sion of spring button (4) where
adjusting screw bears. Set spring button (4)
onto range spring (3); ensure spring button
(4) is laying flat.
12.
Aligning the match marks, place spring
cham ber (2) over the above stacked parts.
Apply pressure (manually) to the spring
chamber (2) from opposite sides to compress
the spring (7), so bolting can be started from
opposite sides. Install all bolts (13) and nuts
(14) by hand tightening. Mechanically tighten
CAUTION
pressure plate (5) and inspect
CAUTION
3
