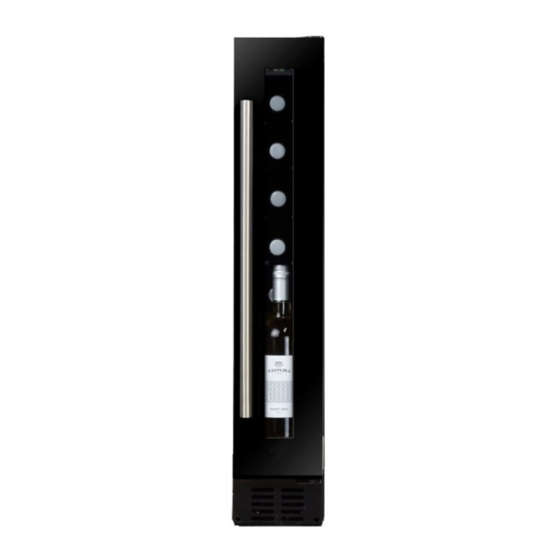
Dunavox DAU-9.22B Instrukcja obsługi - Strona 6
Przeglądaj online lub pobierz pdf Instrukcja obsługi dla Chłodziarka do wina Dunavox DAU-9.22B. Dunavox DAU-9.22B 13 stron.

DESIGN 2 –
Remove the door gasket ① on the side you
1.
wish to install the handle - you can see two
designated holes for handle installation.
Install the handle ④ tightly as shown above with
2.
two screws ③ and flat washers ② provided.
3.
Install the door gasket.
Note: All parts removed must be saved to do
the reinstallation of door.
REVERSING THE DOOR HINGE
It is possible to reverse the door on this appliance, if
required.
To do so, follow the steps below:
DESIGN 1 – For built-under models
① Lock screws ② Lower hinge (Right)
③ Door axis ④ Top hinge (Right)
⑥ Cabinet ⑦ Top hinge (Left)
⑧ Lower hinge (Left)
1. Unscrew the Lock screws①. (Fig.1)
2. Pull the door ⑤outward,take it out. (Fig.2)
3. Unscrew 3 pcs bolts,take out the Top hinge
(Right)④. (Fig.3)
4. Fix the Top hinge (Left) and Lower hinge (Left)
⑤ Door
with bolts on the position as picture shows. (Fig.4)
For bar handle:
To rotate door at 180 degrees, then assemble the
door as per the reverse way of remove. (please see
Fig.4)
For other handle:
Install the door as per reverse way of remove.
(please Fig.4)
DESIGN 2 – For tall models
①Upper hinge ②Hinge shaft ③Hinge buckle
④Upper hinge ⑤Lower hinge ⑥Glass door
1. As shown in Figure 1, use a flat-blade screwdriver
to open the upper hinge buckle ③ to see the hinge
shaft ②, and then use a flat-blade screwdriver to pry
the hinge shaft ② and take it out. Then unscrew the
lower hinge in the same way.
2. As shown in Figure 2, the installation method of the
upper part of the door is the same as the lower part.
3. When the upper and lower parts are removed, pull
the door parallel to the outside. The door can be
taken out.
4. Remove the glass door, use the hex wrench to
remove the upper door hinge and the lower door
hinge mounting screws, and remove the upper and
lower door hinges.
5. Pay special attention to this: 1) The glass door is
turned 180 degrees to install, and the lock hook and
magnet of the door are removed and reinstalled to
the other side. 2) The upper hinge and lower hinge
are also exchanged at the same time.The right upper
hinge is changed into the left lower hinge. The right
lower hinge is changed into the left upper hinge.
Becomes the lower door hinge, and becomes the
upper door hinge when the right lower door hinge is
changed to the left side;
6. Install the door hinge first as shown in Figure 3,
and install the lower door hinge as shown in Figure 4.
7. Lift the door as shown in Figure 4. Firstly insert the
