cashco 988 Instrukcja instalacji, obsługi i konserwacji - Strona 11
Przeglądaj online lub pobierz pdf Instrukcja instalacji, obsługi i konserwacji dla Jednostka sterująca cashco 988. cashco 988 20 stron. Globe-style pneumatic control valve body
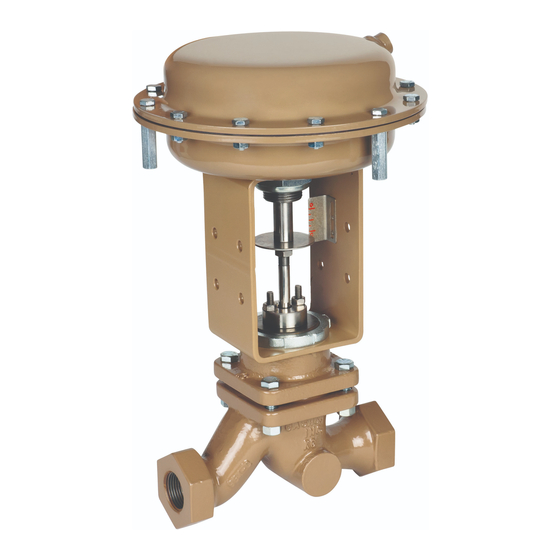
Figure 7: Dual Packing – Arr. "A", Opt-34A
Figure 8: Dual Packing – Arr. "B", Opt-34B
Figure 9: Dual Packing – Arr. "C", Opt-34C
Figure 10: Jammed Packing, Opt-38J
IOM-988/989-BODY
b.
Using a sharp, hooked-end, pick-type tool,
hook and pull the primary lower packing
ring set (6) up and out of the bon net's (2)
stuffing box individually. Examine for proper
ori en ta tion (see Fig ures 7, 8 and 9).
11.
Solvent clean all parts to be reused, including
bon net. Examine any parts for wear and cor ro sion.
Re place any corroded or worn parts. Discard old
pack ing.
12
Examine plug/stem (3) at lower guide bushing (8)
area for wear. If there are signs of excess wear,
guide bushing should be replaced:
a.
Place the bonnet (2) on a bench press. Press
guide bush ing out of bonnet and dis card.
b.
Rotate bonnet end-for-end. Place a new guide
bush ing into position and press fully into the
bonnet.
c.
Reclean bonnet with suitable solvent.
13.
Examine plug/stem (3) in critical finish zone
where con tact is made with the packing (6,47). It
is desirable to re store the surface of the stem to a
#4 Ra μ-in surface finish; metal removal should not
exceed 0.001 inch material. A deeply scratched or
pitted stem should be replaced.
14.
Examine plug/stem (3) for wear around the seating
area. Ex am ine seat ring (11).
a.
Plug head of stem assembly of metal seat ed
design may be hand lapped using suit able
lap ping com pound. If hand lap ping will not
re store sur fac es to an ac cept able degree,
then re place ment of plug/stem assembly is
rec om mend ed.
b.
For composition seated design, if stem
as sem bly is wear damaged, the plug/stem
should be replaced.
15.
Examine the inner surface of the bonnet's (2)
stuff ing box. It is desirable to restore the surface
of stuff ing box to a #8 Ra μ-in surface finish; metal
re mov al should not exceed 0.001 inch ma te ri al. A
deeply scratched or pitted bonnet (2) should be
re placed.
16.
Examine packing follower (5) for corrosion. Re place
if sig nif i cant ly corroded:
a.
Replace follower bushing (26) with new
bush ing (26).
b.
Replace wiper ring (22) with new ring (22).
17.
Turn attention to the body and remaining parts yet
there in. Remove seat ring (11) (and seat re tain er
(23) and soft seat in sert (24) for com po si tion/soft
seated de sign). Discard used soft seat in sert (24);
always use a new soft seat insert upon re as sem bly.
If seat ring or seat retainer are damaged, replace.
18.
Examine gaskets (12, 13) to see if leakage
oc curred. Re move and discard both the seat ring
gas ket (13) and bonnet gas ket (12). Always use
new gaskets (12, 13) upon reassembly.
11