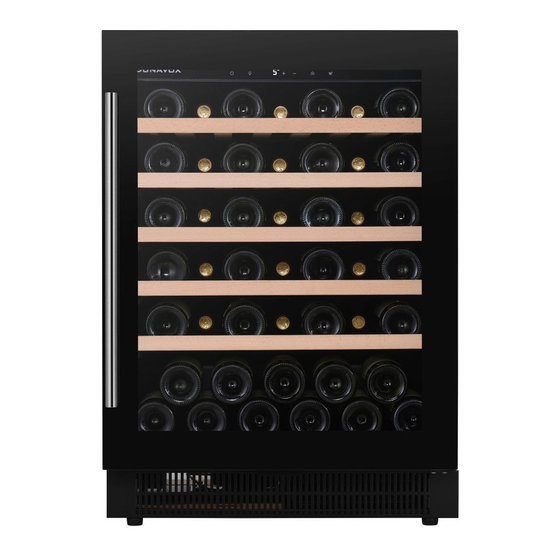
Dunavox DAB-42.117DB Instrukcja obsługi - Strona 6
Przeglądaj online lub pobierz pdf Instrukcja obsługi dla Urządzenia kuchenne Dunavox DAB-42.117DB. Dunavox DAB-42.117DB 15 stron.
Również dla Dunavox DAB-42.117DB: Instrukcja obsługi (13 strony), Instrukcja obsługi (17 strony), Podręcznik (15 strony)

1.
Remove the door gasket ①
to install the handle - you can see two designated
holes for handle installation.
2.
Install the handle ④
two screws ③
and flat washers ②
,
3.
Replace the door gasket.
Note: All parts removed must be saved to do the
reinstallation of door.
REVERSING THE DOOR HINGE
It is possible to reverse the door on this appliance, if
required.
To do so, follow the steps below:
DESIGN 1 – For built-under models
1.
Remove the ventilation grille ②
adjustable ventilation grille ①
the screws ③
,& ④,
models without adjustable ventilation grille, the
step is not needed.
2.
Remove the bottom hinge ⑤, by unscrewing the
four lock screws ⑥,Be careful to hold the glass
door firmly after removing the screws.
(Fig. 2)
3.
Gently pull down to remove the glass door from
the right top hinge and place it on a padded
surface to avoid the risk of damage. Then
remove the right top hinge ⑨,(Fig. 4)
4.
Unscrew and transfer hinge pin ⑦,and/or door
stopper ⑧,of the bottom hinge to the opposite
side. (Fig. 3)
5.
Pop out the cover caps on the left side of
cabinet and use them to
on the right hand side.
on the side you wish
,
tightly as shown above with
,
provided.
,
and the
,
by unscrewing
,
(Fig. 1) NOTE: For some
cover the screw holes
Screw the alternative left top hinge ⑪ , included
6.
in the fittings,
on the left hand side of cabinet.
(Fig. 4)
Unscrew and transfer the holes cover ⑫, and
lock catch ⑬, to the opposite side of
7.
glass door. (Only for models with lock on the
ventilation grille) (Fig. 5)
8.
Rotate the door 180° (No need for models with
lock on the door) and relocate the door to the
designated position. Then screw the bottom
hinge assembly on the left designated position
and tighten it after the door is leveled.
9.
Transfer the handles & plugs to the opposite
positions and then reassembly the ventilation
grilles if need.
DESIGN 2 – For fully integrated models
1.
Remove the glass door by unscrewing the eight
lock screws ③
and ④
,
glass door firmly after removing the screws and
place it on a padded surface to avoid the risk of
damage.
2.
Unscrew and transfer the door supporter ②, to
the opposite side.
3.
Rotate the glass door 180°and refit the glass door
to the opposite side. Then screw and tighten it
after the door is leveled.
DESIGN 3 – For tall models
Be careful to hold the
,
