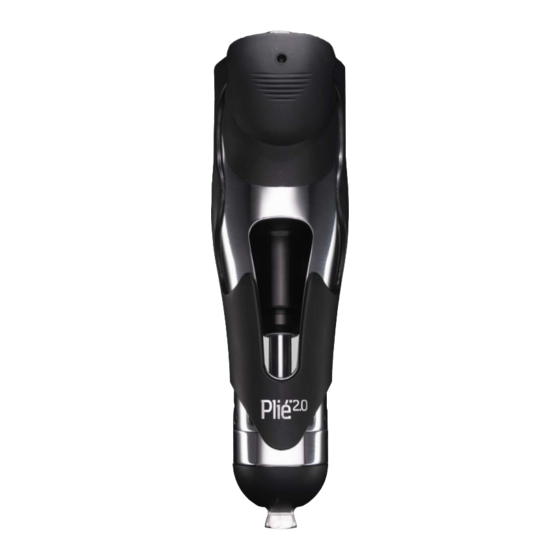
Freedom Innovations Plie 2.0 MPC KNEE Instrukcja obsługi - Strona 17
Przeglądaj online lub pobierz pdf Instrukcja obsługi dla Produkty higieny osobistej Freedom Innovations Plie 2.0 MPC KNEE. Freedom Innovations Plie 2.0 MPC KNEE 20 stron. Prosthetic knee

2. Plié Setup Wizard
Open the Plié Setup Wizard (Plié Control>Setting Wizard). Follow the steps provided in the Plié Setup Wizard,
always beginning with First Set Up.
a. Select First Set Up. Then select Next.
b. In the Basic Set Up Mode window, select Set Up Mode.
The First Set Up mode should only be enabled when setting up a knee.The advanced Stability Parameters
are not active and the stumble recovery function is limited in the First Set Up mode.
c. As the user unweights the prosthesis, select Calibrate icon to calibrate the load sensor. Instruct the user to
ambulate or weight the prosthesis in a hyperextended position to calibrate the angle sensor. The angle sensor
calibration must be completed within two minutes of selecting the Calibrate icon.
d. Instruct user to ambulate. If the knee does not release into swing, lower the Toe Threshold setting in the Plié
Control window until the knee releases.
3. Adjust Manual Hydraulic Settings
Adjust the default manual hydraulic settings in the following order to ensure the knee motion is smooth and
symmetrical for the user (Figure K). Higher numerical values provide increased resistance for each hydraulic
resistance setting.
a. Using the pneumatic pump, adjust swing flexion resistance (heel rise).
!
The pressure on the air pumpʼs pressure gauge indicates the air pressure inside the knee. Air pressure
Tip
in the knee drops when the air pump is inserted in the knee, not when is removed. When the air pump
is removed from the knee, a sound of air leaking may be heard. This sound is the expelling of air from the air
!
pump hose to the atmosphere. Approximately ½ the pressure in the knee is lost when the air pump is
!
inserted.
b. Adjust swing extension resistance with a 4mm allen key (terminal impact).
!
The extension control valve used to modify the swing extension resistance is a cam and rotates 360°
Tip
!
without damaging the knee. A line indicates the value of the current setting (0-9).
c. Adjust stance flexion resistance with a 4mm allen key (stair/ramp descent resistance). Optimize performance
for stair/ramp descent.
!The stance flexion resistance also doubles as the resistance provided for stumble recovery. Caution must
!be exercised when adjusting the stance flexion resistance to ensure adequate resistance is present for
!stumble recovery.
4. Optimize Microprocessor Settings
Return to the Plié Setup Wizard (Plié Control>Setting Wizard).
a. Select the Suggest T1/T2 icon. Instruct the user to ambulate with variable cadences, including fastest and
slowest walking speeds until 20 steps are shown in the Steps box.
b. Select the Set T1/T2 icon. The suggested values will be set in the knee.
c. Repeat steps a & b until the suggested T1 and T2 values exhibit minimal variance.
!
As the data is collected for the T1 and T2 values, instruct user to finish ambulating with his/her slowest
Tip
!
walking speed to ensure T1 is set appropriately.
d. Select the Next icon to return to the main Plié Setup Wizard window.
e. Select the Self Selected Speed icon and select the Next icon.
f.
In the Self Selected Walking Analysis window, select the Start Recording icon. Instruct the user to take
twenty steps at his/her self-selected walking speed. Once complete, select the
Plié® 2.0 MPC Knee Instructions for Use (R-720-109 Rev. D), English!
Stop Recording
!
!
!
icon.
!
17
