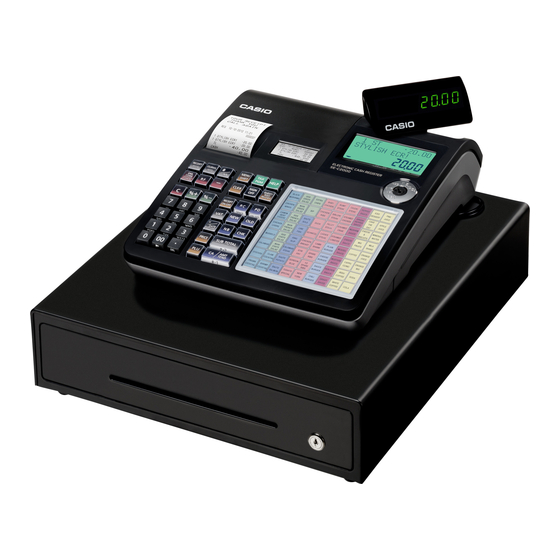
Casio SE-C2000 Podręcznik szybkiej konfiguracji
Przeglądaj online lub pobierz pdf Podręcznik szybkiej konfiguracji dla Kasa fiskalna Casio SE-C2000. Casio SE-C2000 2 stron. Service manual
Również dla Casio SE-C2000: Instrukcja serwisowa (4 strony), Instrukcja obsługi (18 strony), Podręcznik użytkownika (6 strony)

SE-C2000
1
Installing Paper
• Remove the printer cover and
lift up both printer arms where
it says 'PULL HERE UP'
• Feed the paper underneath,
and lower both the rolls into
the spaces provided.
• Ensure the excess is brought
forward over each printer arm.
• Close the left hand printer arm
until it locks steadily.
• On the right hand side, remove
the paper guide from the take-up
reel and wind on the paper roll
as shown.
• Replace the paper guide on the
take-up reel and close the right
hand printer arm until it locks
steadily. Slot the take-up reel in
place behind the printer.
• Replace the printer cover and
feed the excess paper on the
left hand side through the
printer cover for receipts.
Quick Setup Guide
2
Making a Sale
Items can be sold either as a manual price entry or by
pressing a pre-programmed item button.
• Insert the OP key
(operator's key) and
turn to the REG
position.
• Enter the price of the
goods without the
decimal point and
press one of the
item buttons.
i.e. £1 equals 1 0 0
• Alternatively press one of
the pre-programmed buttons.
• To enter another sale repeat as above by entering
a price then an item key.
• Or, press another pre-programmed button on the
keyboard.
• Press the SUBTOTAL
key to show the
amount due.
• If you would like to calculate change (optional):-
Enter the value of money given by the customer.
I.e. £5.00 is entered as 5 0 0 and press the
CA/AMT TEND key.
• Or, press the CA/AMT TEND key directly
(for non cash sales press CHEQ or CARD ).
If a cash value was entered, the amount of change
due will be displayed on screen.
3
Reporting
The cash register has two reporting modes, one for
printing out the information without clearing any
figures, this is referred to as the X Mode.
X
Z
The second is for printing and clearing the figures
REG
X2/Z2
back to zero ready for the next day. This is referred
OFF
OP
to as the Z Mode.
RF
PGM
• Insert the PGM key
Mode Lock
(program key) and turn
to either the:
X position to print without clearing
Or
Z position to print and clear sales.
• Press the RC key to
Item Buttons
display the required
report on screen.
• Press the CA/AMT TEND
key to print the report.
• Turn the key to the REG position for normal use.
Example - End of Day Report
Helpline Monday to Friday
KUKUKUKUK
8.30am to 4.30pm on
01924 438238 (Option 2)
X
REG
OFF
RF
PGM
Mode Lock
Z
X2/Z2
PGM
