Conquip Powerbrush Podręcznik użytkownika - Strona 8
Przeglądaj online lub pobierz pdf Podręcznik użytkownika dla Dmuchawa Conquip Powerbrush. Conquip Powerbrush 14 stron.
Również dla Conquip Powerbrush: Instrukcja obsługi (15 strony)
Original Working Instructions
Usage Instructions
Important Usage Notes
•
The Powerbrush is supplied with heel pins that must be fitted correctly
before use. If the heel pins are missing do not use the equipment or fit
alternatives - contact Conquip Engineering Group for a replacement.
•
Drain the water tank in cold weather to prevent freezing.
•
Keep the hydraulic hoses safely off the ground to avoid them getting
damaged.
•
DO NOT disconnect the hydraulic hoses unless the pressure from the auxiliary
service has been released.
•
Never allow brick banding, barbed wire, or any straps to be picked up by the
Powerbrush.
•
Always ensure the hydraulic system is in operation before use.
•
DO NOT drive directly over fixed objects, such as manholes.
•
Close the hopper fully when not using the Powerbrush to avoid pressure.
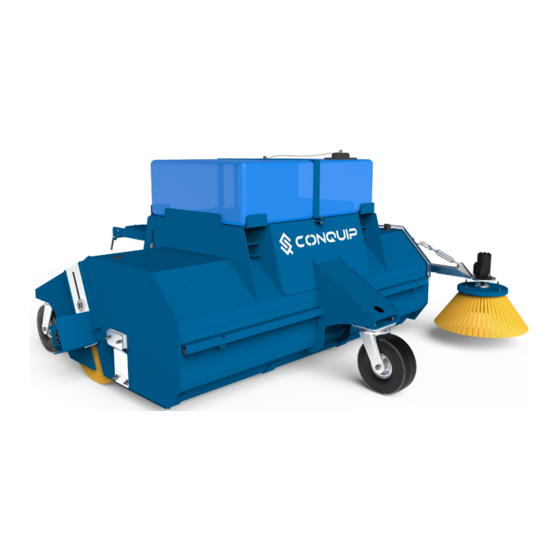
Assembly Instructions for the Optional Kerb Brush
1. Bolt on the Kerb Brush Pin Bracket (ZZ220054) to the Powerbrush, using 4
M12 x 50mm bolts, provided.
2. Slide the gulley brush arm onto the pin.
3. Insert the linch pin to secure the arm to the bracket.
4. Pass the chain through the anchor point to a position where the bristle of the
kerb brush is just off the floor.
5. Use the turn buckle for fine adjustment to a point where the front bristles are
just touching the floor with a small amount of deflection.
User Guide - Powerbrush
Scan for video guide!
Assembly Instructions for Replacing the Main Brush Sections
1. Remove the bolt and washer from the top plate fixing on both sides of the
Powerbrush body, and detach the hydraulic hoses.
2. With the fixings now removed on both sides, lift the Powerbrush with the
forklift. The brush, along with any fixings attached, will now slide down the
plate guide and detach itself from the Powerbrush body.
3. Once the brush is fully detached from the Powerbrush body, detach the
fixing, bearing and bearing shaft (as shown).
4. Once fixing and bearing parts are removed, the brush sections with the brush
can pull out.
15