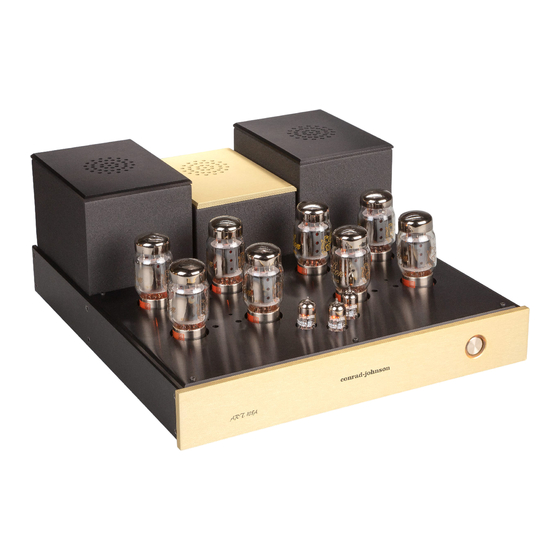
Conrad-Johnson ART 108A Instrukcja obsługi - Strona 6
Przeglądaj online lub pobierz pdf Instrukcja obsługi dla Wzmacniacz Conrad-Johnson ART 108A. Conrad-Johnson ART 108A 11 stron.

Physical location and cable "dress" can be an important factor
in minimizing
hum
pickup.
The
installation
should
situate
the preamplifier well away from the power amplifier, and power
(ac mains) cords should be dressed to remain at least
4" (100mm) away from input/output cables.
Connection
INPUT: Connect the preamplifier to your ART 108A Amplifier at
the RCA type connector located on the back of the amplifier.
OUTPUT: Five-way binding posts are provided for connection of
your loudspeakers, with correct spacing to accept a standard
"double banana" plug. They will also accept spade lugs, bare wire,
or pin connectors.
In a stereo system, the two channels should be connected in
correct "relative phase". This means that when the same signal is
applied to both channels, the right and left channels speaker
diaphragms will move synchronously - in and out together.
Terminals on speakers are usually coded - one designated "C",
"ground", "-" or black, the other designated "+" or red. "In phase"
connection of the speakers can normally be achieved by taking
care to connect the wire from the "+" amplifier terminal to the red or
"+" coded terminal on each speaker, and connecting the "-"
terminal to the black or "-" coded terminal on each speaker. In
phase connection of the speakers can be readily ascertained by
ear. Listen to a recording of a solo vocalist (use a mono recording
if available). With the speakers in phase the voice should be clearly
focused between the two speakers. With the speakers connected
out of phase, the voice will be diffused, with no identifiable source.
Relative phase may be reversed by switching the "+" and "-" leads
at one speaker only.
Conrad-Johnson ART 108A Amplifier Owner's Manual
5
