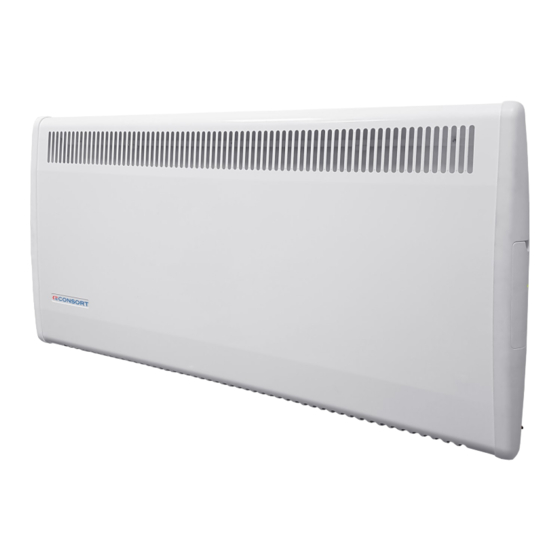
Consort PLSTI050EWIFI Instrukcja instalacji i sterowania - Strona 8
Przeglądaj online lub pobierz pdf Instrukcja instalacji i sterowania dla Grzałka Consort PLSTI050EWIFI. Consort PLSTI050EWIFI 8 stron. Low surface temperature panel heaters with electronic controls and wifi connection

8
24. Smart Automation
The automatic program which is explained previously is
only capable of switching the heating on/off in one hour
increments, I.e. the heating could not be switched on at
10:30am, it would need to be either 10am or 11am.
The Smart automation feature which is only available via
the app can offer a solution to this. It allows an unlimited
amount of programs to be set on every day of the week.
To use it, follow the steps listed below.
1.
Open the Consort Connect app and select the
'Smart' option on the bottom of the screen.
2.
Select the '+' symbol located in the top right of the
screen.
3.
Select the option 'Schedule'
4.
Select 'Repeat' and choose the days which the
program is required to run on.
5.
Select an execution time. This is the time the pro-
gram will be triggered.
6.
Select 'Next'.
7.
Select 'Run the device' and choose the device the
program will control.
8.
Select 'Mode' and then choose the operating
mode the heater will switch to.
9.
Select 'Name' to name the operation (optional).
10.
Select 'Save'.
Repeat these steps for all automations required. A single
time period would require two automations, one to switch
the heater on, and one to switch the heater off.
You can activate/deactivate each individual automation
without deleting it. To do this, from the main app screen
select the 'Smart' option and use the toggle icon.
T
HORNTON
C
E
ONSORT
QUIPMENT
I
E
, M
NDUSTRIAL
STATE
ILFORD
T
: +44 1646 692172 E-M
EL
.
WWW
CONSORTEPL
25. Mounting
This unit is for wall mounting only. It is designed to be
very quiet in operation if mounted correctly. It must be
fitted using the wall bracket supplied and screws for a
5mm hole. The wall bracket provided has been specially
designed to minimise noise levels. Care must be taken
when handling the bracket not to bend or distort it.
When fitting more than one heater in a room we would
recommend that they are sited on the same wall to
optimise airflow and ensure quiet operation.
To wall mount, the wall bracket supplied must be used.
Remove the wall bracket from the heater. Fix the wall
bracket to the wall using 4 screws. Present the heater to
the bracket. Locate the heater onto the bottom lugs via
the 2 slots in rear panel. Hinge the heater upwards and
attach the chain assembly, then move the heater to the
upright position. The link plates should slide under the
slotted bracket lip.
M
P
OUNTING ON A
LASTERBOARD
•
Ensure at least one of the wall brackets is secured
to the timber frame of the studded wall by using
standard wood screws.
•
Where the bracket is fitted onto plasterboard only,
ensure plasterboard fixings are used. Standard wall
plugs will not be suitable.
•
Where possible mount the heater(s) on an outside
wall to inhibit transfer of sound within the building.
NB:
Failure to follow the instructions and
recommendations provided could result in increased
noise levels.
The heater must not be located immediately below a
fixed socket outlet.
Refer to page 3 for more information.
P
L
.
RODUCTS
TD
H
, P
, SA73 2RT. UK
AVEN
EMBROKESHIRE
:
@
AIL
TECHNICAL
CONSORTEPL
.
COM
W
ALL
.
COM
66001185 Iss 01
