Dantherm CDF 10 Podręcznik - Strona 5
Przeglądaj online lub pobierz pdf Podręcznik dla Osuszacz powietrza Dantherm CDF 10. Dantherm CDF 10 16 stron.

2.3 Access to the control
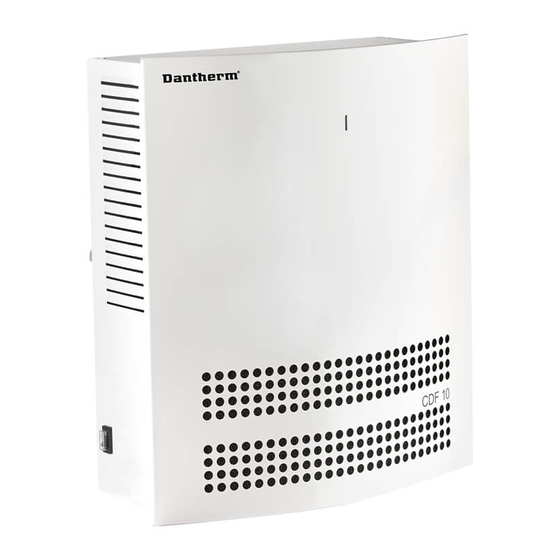
Remove the front panel by unscrewing the two screws on the top of the dehumidifier. Lift the front panel vertically
upwards and then pull it horizontally away from the unit.
The control of the unit is located in a box behind the front panel. To get access to the control unscrew the 4 screws
on the sides.
3. Connection of power supply
The unit is delivered complete with cable and plug for connection to 230V / 50Hz.
Power is connected to the unit in accordance with the nameplate. Please refer to the wiring diagram on page 29.
4. Operation
4.1 LED indication / Switch
The LED on the front of the unit is green when the compressor is operating, and the unit dehumidifies.
The dehumidifier is switched on and off by the switch on the side.
NOTE! Any stop of the unit - by failing power connection, by the switch or the
4.2 Built-in hygrostat
The dehumidifier is controlled by a built-in hygrostat that is set to approx. 50% RH. When the hygrostat registers a
relative humidity of more than 50%RH, the compressor and the fan automatically switch on and the dehumidifier
starts to dehumidify. The hygrostat is located under the control box and is set on the hygrostat switch.
If you want to set the hygrostat at a lower relative humidity than 50% the set screw has to be turned clockwise.
NOTE! All electrical connections must be made in
accordance with local power supply
company regulations.
hygrostat - will make the electronic control put off re-start for 30 seconds in
order to protect the compressor from being switched on and off repeatedly.
11
