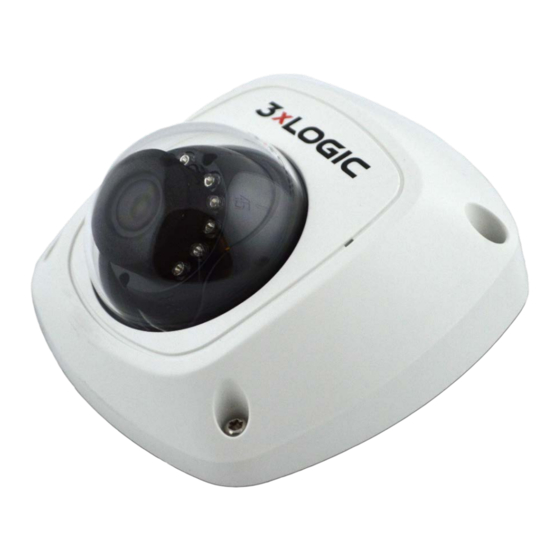
3xLogic VX-4V28-MD-IAW Skrócona instrukcja obsługi - Strona 11
Przeglądaj online lub pobierz pdf Skrócona instrukcja obsługi dla Kamera bezpieczeństwa 3xLogic VX-4V28-MD-IAW. 3xLogic VX-4V28-MD-IAW 15 stron. Visix v-series all-in-one camera – gen ii

2 Camera Setup
WPS Setup
WPS (Wi-Fi Protected Setup, also known as AOSS or QSS) is a computing standard that attempts to allow easy
establishment of a secure wireless network. A wireless router with the WPS function is required to enable the
WPS function of the camera. Refer to the steps below.
Steps:
Press the WPS button on the router.
Press the WPS button (about 2s) on the camera within 120s of enabling the WPS on the router to join
the wireless network.
NOTES:
The WPS button works as a reset button only when you press it when the camera is powering on.
Press the WPS button on the camera, and then press the WPS button on the router will establish a
connection as well, and the expire time of WPS connection on the camera is 120s.
The link indicator blinks if the wireless connection is succeeded.
Available Camera Setup Tools
All V-Series camera models can be quickly setup for recording and remote monitoring out-of-the-box using one
of two tools; either the 3xLOGIC VSX Setup Tool (iOS and Android) mobile app or 3xLOGIC All-in-One PC Setup
software, depending on your network environment.
The 3xLOGIC VSX Setup Tool (iOS and Android) can be installed on a mobile device running Android
or iOS and has been engineered for use in all DHCP-enabled networks. This app scans the camera's QR
code to establish a connection with the camera and pushes configured settings to the camera via the
cloud.
The 3xLOGIC All-in-One PC Setup software must be installed on a Windows PC running on the same
network as the cameras and is intended for use in large-scale deployments or for non-DHCP
networks. The app detects cameras at which point an appropriate IP address can be assigned to the
camera to establish external internet connectivity. The app then pushes configured settings to the
selected camera via the cloud.
Camera Setup - DHCP -Enabled Networks
For DHCP-enabled networks where the camera is hardwired or wirelessly connected to the local network,
manual configuration is possible, however the 3xLOGIC VSX Setup Tool (iOS and Android) is highly
recommended:
1. Ensure the connected network provides a DHCP address and allows outbound access to the internet.
For installations where DHCP is not available or where the camera is being used with an appliance see
Section 2.3 Camera Setup - Non-DHCP Networks.
2. Download VSX Setup app from your devices' app store.
3. Follow prompts in the VSX Setup app, and scan the camera's QR to complete configuration and
enrollment.
4. You will be required to activate the camera by assigning a complex password.
5. Be sure to remember the VIGIL Connect Alias as well as the username and password you assign to the
camera. These credentials will be required to add the camera to other VIGIL utilities.
10385 Westmoor Drive, Suite 210, Westminster, CO 80021 | www.3xlogic.com | (877) 3XLOGIC
V-Series Camera Quick Start Guide | VX-4V28-MD-IAW
11
