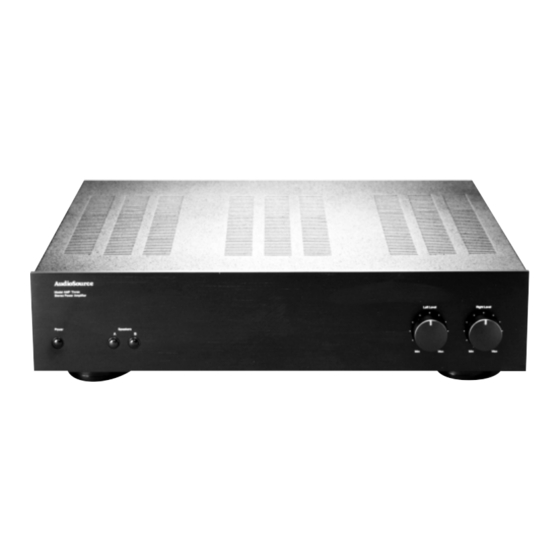
AudioSource AMP Three Instrukcja obsługi - Strona 2
Przeglądaj online lub pobierz pdf Instrukcja obsługi dla Wzmacniacz AudioSource AMP Three. AudioSource AMP Three 4 stron. Stereo power amplifier with internal bridging
Również dla AudioSource AMP Three: Specyfikacje (2 strony)

MANUAL/AUTO
LINE OUT
1
THRU
POWER
3
RIGHT
BRIDGING
ON
(MONO)
OFF
(STEREO)
LINE IN
Using the Controls (cont.)
Manual/Auto Power Switch (Rear Panel)
In the Auto mode, the AMP Three will turn on automatically when an input signal is sensed. In the
absence of an input signal, the AMP Three will shut down automatically. (In the Auto mode, the front panel
power switch should always remain in the on position.) In the Manual mode, use the front panel power
switch to activate the AMP Three.
Hooking up the Wires
Audio signals travel out of one component and into another. All of your connections should also go from
out to in.
Line In
2
If you are connecting a pre-amp to the AMP Three, connect the line out jacks from your signal source to
the line in jacks on the AMP Three.
Bridging Switch (refer to wiring diagram)
In addition to providing 150 watts RMS per channel in the stereo mode, your AMP Three can be used as
a high power mono amplifier, providing 400 watts RMS. This can be accomplished by toggling the bridging
switch from the stereo position to the mono position. For mono applications, use only the right channel
input. Similarly, use only the right channel input level control.
Note: Be sure to observe the correct speaker connections for bridged applications. Because of the high power output in this
mode, we recommend initially setting the right level control at "min", and then adjusting the volume to the desired level.
Line Out/Thru
4
Connect the line out jacks from your signal source (receiver, CD player, preamplifier, etc.) to the line in
jacks on the AMP Three.
Speaker Terminals
More than one pair of speakers can be used with the AMP Three. We have provided two pairs of speaker
outputs, labeled Speaker A (left & right), and Speaker B (left & right). The speaker terminals are color coded.
Red posts indicate positive (+) terminals and black posts indicate negative (–) terminals. Be sure to connect
the positive output terminals of your AMP Three to the positive input terminals of your speakers and the
negative output terminals of your AMP Three to the negative input terminals of your speakers.
Note: Refer to the wiring diagrams on the next page for proper connection of speaker cables.
4
LEFT
2
5
-
+
SPEAKER A
5
(+)
-
+
SPEAKER B
RIGHT
1
3
-
+
(–)
BRIDGING
-
+
LEFT
MODEL AMP THREE
FUSE 8A
