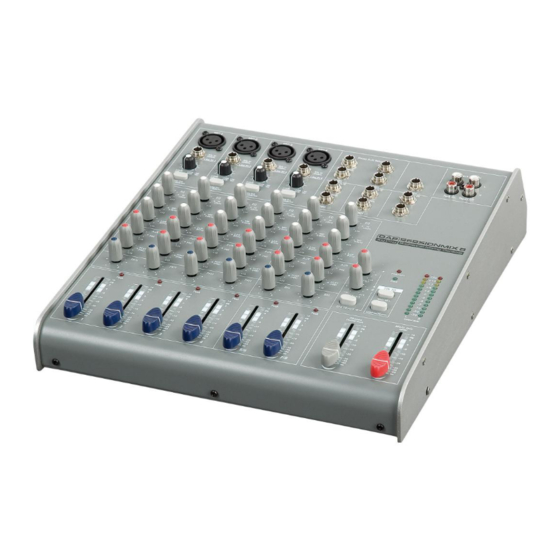
DAPAudio D2191 Instrukcja obsługi produktu - Strona 12
Przeglądaj online lub pobierz pdf Instrukcja obsługi produktu dla Mikser muzyczny DAPAudio D2191. DAPAudio D2191 19 stron.

6. Low cut switch
If you push the "Low Cut" button, a filter will be inserted into the audio chain of the Sessionmix 12 DSP that
has a characteristic 75Hz, 18dB/oct high pass characteristic to cut any undesired low frequencies. This
function can be used to cut the humming sound or to prevent resonances of low frequencies, when the
speakers are placed in close distance.
7 / 8 / 9. Equalizer SECTION (HI / MID / LOW)
The mixer's Equalizer section allows shaping of the incoming audio signal. All mono input channels are
fitted with 3-band EQ. The upper (6) and lower (8) shelving controls have their frequencies fixed at 12
KHz and 80 Hz respectively. The Mid range control (7) has a peaking response frequency at 2.5 KHz. All 3
bands have up to 15 dB cut and boost. Turning the Equalizer to the right amplifies the frequency range,
turning to the left attenuates the signal. Minor changes to the Equalizer control usually produce the best
results. Try to avoid excessive enhancement of the MID band.
10. AUX 1
The FX control allows you to change the Aux 1 level to the FX Mix.
11. AUX 2
The FX control allows you to change the Aux 2 level to the FX Mix.
12. Pan (Mono Channels)
By using the panorama control you can change the input signal's position within the stereo image. When
the panorama control is set to center position, the audio signal is equal for both the left and right output.
Bal (stereo channels)
By using the balance control you can adjust the balance between the left and the right channel. If you
use a mono source (input left mono) the control works as a panorama control and lets you change the
input signal's position within the stereo image.
13. PEAK Indicator
The peak indicator shows peak levels in a channel's incoming signal level. If the red peak LED frequently
blinks or constantly lights, the corresponding channel is likely to enter clipping and you have to reduce
the input's amplification using the gain control. The peak LED lights at a level of 8 dB below clipping.
Make sure that the Peak LED lights only briefly during dynamic peaks.
14. Channel Fader
The fader controls the volume of a single channel. The channel faders should be positioned within the
range of -5dB to 0dB, leaving you with sufficient room to allow precise matching of differences in the
channel's level settings. The overall volume is set with the master fader. Even though the channel faders
offer an additional gain of +10dB, it is better not to exceed the +5dB position.
10
