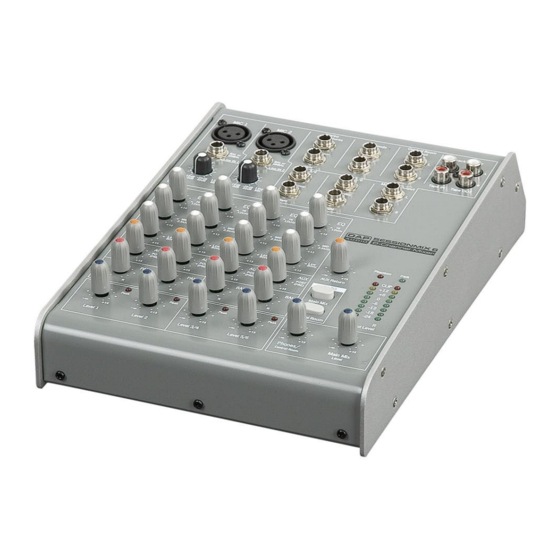
DAPAudio Sessionmix 6 Podręcznik - Strona 12
Przeglądaj online lub pobierz pdf Podręcznik dla Mikser muzyczny DAPAudio Sessionmix 6. DAPAudio Sessionmix 6 18 stron.

6 / 7 / 8. Equalizer SECTION (HI / MID / LOW)
The mixer's Equalizer section allows shaping of the incoming audio signal. All mono input channels are
fitted with 3-band EQ. The upper (6) and lower (8) shelving controls have their frequencies fixed at 12
KHz and 80 Hz respectively. The Mid range control (7) has a peaking response frequency at 2.5 KHz. All 3
bands have up to 15 dB cut and boost, with a centre detent. Turning the Equalizer to the right amplifies
the frequency range, turning to the left attenuates the signal. Minor changes to the Equalizer control
usually produce the best results. Try to avoid excessive enhancement of the MID band.
9. AUX
The FX control allows you to change the aux level to the FX Mix.
10. Pan (Mono Channels)
By using the panorama control you can change the input signal's position within the stereo image. When
the panorama control is set to center position, the audio signal is equal for both the left and right output.
Bal (stereo channels)
By using the balance control you can adjust the balance between the left and the right channel. If you
use a mono source (input left mono) the control works as a panorama control and lets you change the
input signal's position within the stereo image.
Caution: Depending on the type of headphones connected to the phones jack, the Powermix is
capable of producing very high output levels via the phones output. Therefore, make sure to turn the
control all the way down (minimum setting) before connecting the headphones.
Listening to loud sound pressure levels over a longer period of time leads to hearing damage!
20. Power LED
The green power LED lights when the Sessionmix is turned on. If after switching the device on, the LED
does not light, make sure that the AC adapter is connected properly. If the LED still doesn't light up after
everything is connected right, please contact your DAP audio dealer.
13. Main out L unbalanced
14. Main out R unbalanced
15. Phantom Power LED
This LED indicates when the phantom power is switched on
for the microphone inputs. After switching on the mixer, the
red LED should not light up. So both balanced and
unbalanced microphones can be connected. Unbalanced
microphones may be damaged if the Phantom power is
activated however unbalanced microphones are rarely to
be found these days.
16. Aux 1 return
This control allows you to adjust the aux 1 level to the main
mix.
17. Assign 2TK to main mix
Use this button to assign the 2TK input to the main mix.
The level of the 2TK input is fixed.
18. Assign 2TK to the Phones/ Control room group
Use this button to assign the 2TK input to the Phones/ Control
group. The level of the 2TK input is fixed.
19. Phones/ Control room
This control allows you to adjust the control room/ phones
output volume.
Fig. 9
10
