darda 11177 Skrócona instrukcja obsługi - Strona 4
Przeglądaj online lub pobierz pdf Skrócona instrukcja obsługi dla Zabawka darda 11177. darda 11177 6 stron.
STEP 4
• Using the built-in track joiners on the
baseplate, attach one 14" straight track to
the open loop end and one 14" straight
track to the open curved support track end,
as shown in FIGURE 4.
STEP 5
• Using track joiners, attach
(1) 7" straight track, (1) 14"
straight track, (1)flexi-curve,
(2) 7" Curved Tracks, and (1)
start/win box to complete
one side of the set.
See FIGURE 5.
NOTE:
Connect the
start/win box so that the
image in step 6
Track Joiner
can be
adjoined.
Track Joiner
14" Straight Track
Track
Joiner
14" Straight Track
FIGURE 5
Track Joiners
Curved
Tracks
Track Joiner
Flexi-Curve
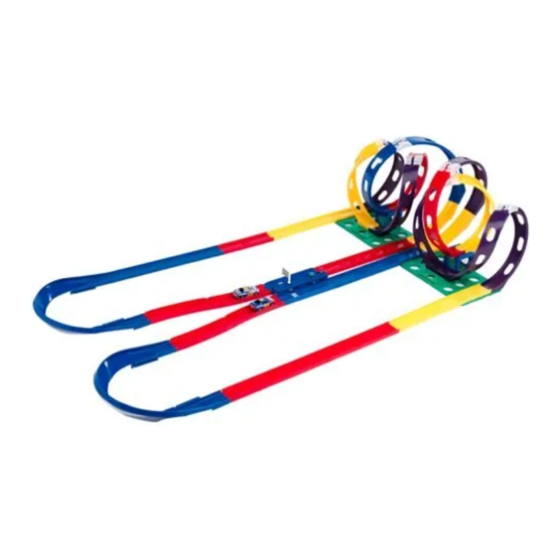
STEP 6
• To complete the second
half of the set, create a
mirror image of
FIGURE 5.
Curved Support Track
14" Straight Track
Track
Joiner
Start-Win
Box
Curved
Track
Track Joiner
PAGE 4
FIGURE 4
14" Straight Track
FIGURE 6
Loop
Loop
Large
14" Straight
Baseplate
Track
Track Joiner
7" Straight
Track
Track Joiner
Track
Joiner
14" Straight Track
Track Joiner
Flexi-Curve
Loop
Stacking
Bridge