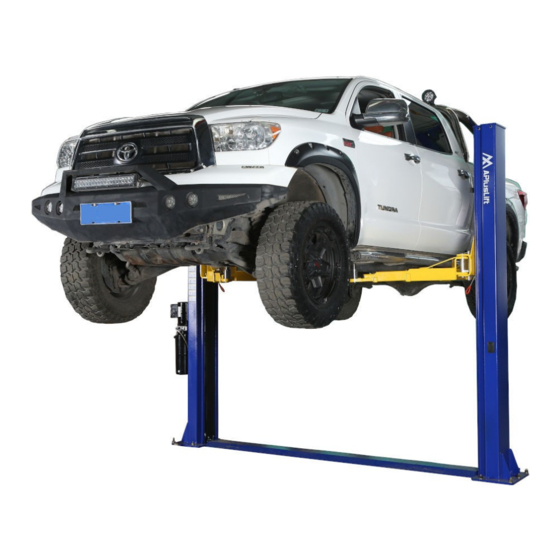
APlusLift HW-10KBP Instrukcja instalacji i obsługi - Strona 13
Przeglądaj online lub pobierz pdf Instrukcja instalacji i obsługi dla Kolumny podnoszące APlusLift HW-10KBP. APlusLift HW-10KBP 16 stron. 2-post floor plate car lift 10,000lb capacity
Również dla APlusLift HW-10KBP: Instrukcja instalacji i obsługi (20 strony), Instrukcja instalacji i obsługi (20 strony)

•
Stay clear of lift and raise the lift off the safety locks by 2".
•
Pull safety latch releases cable ring one by one on each carriage and press the lower lever to begin descent.
•
Unload lift by first completely lowering lift, then swinging arms to drive through position before moving vehicle.
•
•
3.
Maintenance & Safety
MAINTENANCE
Note: IT IS THE CUSTOMER'S OR THE END USER'S RESPONSIBILITY TO MAINTAIN THE PROPER
TENSION ON THE EQUALIZER CABLES. ASKF A QUALIFIED TECHANICAN TO RETURN IN FUTURE
TO MAINTAIN THE CABLE ADJUSTMENT AFTER THE LIFT IS INSTALLED WOULD NOT BE A
WARRANTY FOR THE ADJUSTMENTS.
IF AT ANY TIME YOU'RE NOT SURE TO THE SAFE OPERATION OF THE LIFT, DISCOUNTINUE USING
IT AND CALL YOUR DISTRIBUTOR FOR ASSISTANCE.
Lubrication:
•
Lubricate all Nylon wear block corners inside each column with heavy duty bearing grease before your first operation
and once every six months. Lubricate chains every six months.
Anchor Bolts:
•
During first week of use, check anchor daily. DO NOT use an impact wrench. After first week, check once a month
for the first six months. Tighten if necessary.
Concrete:
•
Check concrete for stress cracks daily for the first two weeks of use as a precaution. Thereafter, check monthly.
Check all bolts and nuts every six months.
Hydraulic Oil:
•
If your lift will raise all the way to the top of the hydraulic tank is full of hydraulic oil. The hydraulic oil should be
changed once a year, along with cleaning the suction filer.
SAFETY LATCH ADJUSTMENT
DO NOT make any adjustment on the lift or cable.
•
If the safety latch in either column does not operate. Use the following procedure to adjust it.
•
Raise the lift until you can see the latch through the access hole in side of the column by removing the plastic cover.
•
DO NOT set lift on safety latch for this adjustment. Allow the hydraulic system to hold the lift during the adjustment.
DO NOT have a vehicle on the lift during this time.
•
Put the latch forward with a screwdriver.
•
If the latch, is not working during descent, loosen the adjustment bolt one full turn and test the latch and follow this
procedure until the latch operates.
•
If the latch is not working during ascent, tighten the adjustment bolt one full turn and test the latch and follow this
procedure until the latch operates.
13
