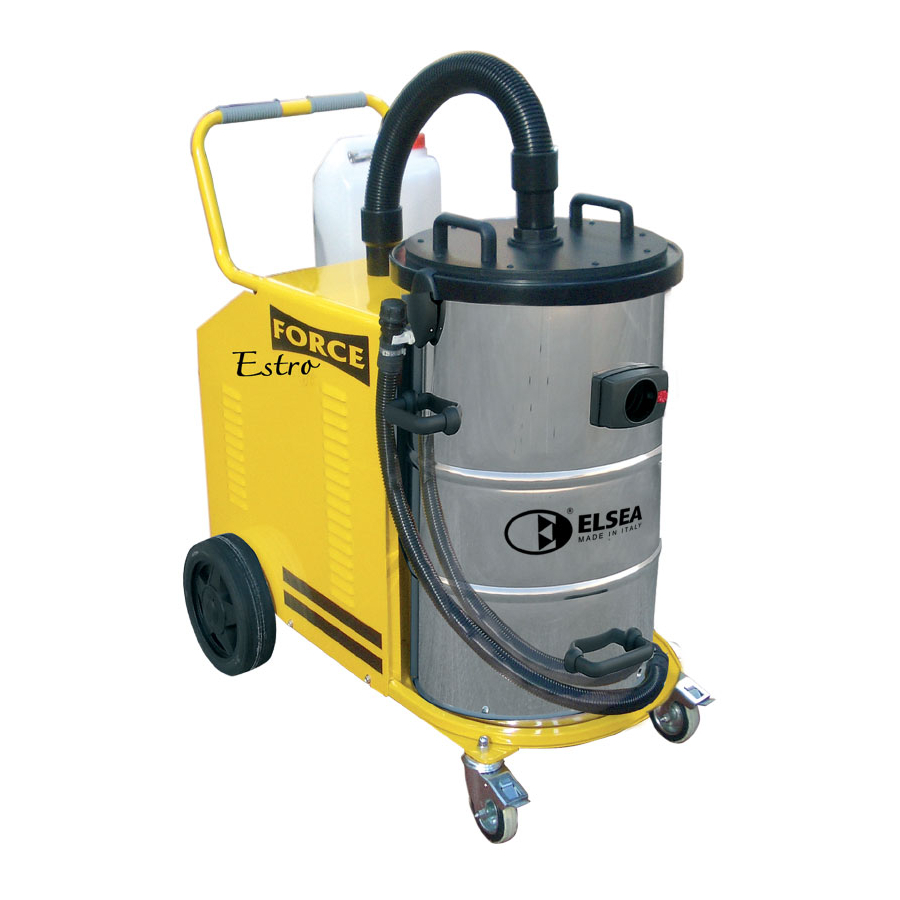
Elsea FO3080T Podręcznik użytkownika - Strona 7
Przeglądaj online lub pobierz pdf Podręcznik użytkownika dla Odkurzacz Elsea FO3080T. Elsea FO3080T 18 stron.

4 - Installazione/Installation/Installatiòn/Installation/Installaciòn
I
Imballaggio:
L'aspiratore è fissato ad un bancale, ricoperto da un cartone. All'apertura del pacco e necessario controllare che tutte le parti
sIano intatte e che non abbiano subito danni durante il trasporto. Se I'imballo presenta danneggiamenti, sporgere immediato
reclamo al trasportatore e indicare sulla bolla che il materiale viene ritirato con riserva.
INSTALLAZIONE
- Controllare il posizionamento del filtro e la chiusura dei ganci testata-fusto. L'errato posizionamento del filtro può causare seri
danni all'apparecchio.
- Innestare il tubo flessibile nel bocchettone di aspirazione; inserire all'estremità dello stesso l'accessorio adatto all'uso (vedi pag.
5 accessori optional).
- L'aspiratore è dotato di un cavo su cui va montata una spina omologata IEC309 di tipo Trifase a tre poli (terra) 16A 380-415V per
tensione di 400V.
- Verificare che le connessioni eseguite siano corrette e a regola d'arte.
Collegare il cavo elettrico dell'apparecchio alla presa di alimentazione con gli interruttori in posizione "0" (OFF).
ATTENZIONE: La spina trifase deve essere montata esclusivamente da personale autorizzato ed esperto.
- Tenere libere le zone di ventilazione e non poggiare oggetti, involucri o altro prima dell'accensione, nonchè durante il funziona-
mento dell'apparecchio.
- Poggiare l'apparecchio su un piano sicuro e stabile o comunque azionare i freni delle ruote anteriori premendo l'apposita levetta
montatta sulla staffa delle stesse.
- Attivare il funzionamento dell'apparecchio manovrando l'interruttore generale situato sul pannello posteriore.
- Per l'aspirazione dei liquidi svuotare l'involucro dalle polveri e rimuovere il filtro in panno e quello a cartuccia.
ATTENZIONE: L'apparecchio è dotato di una valvola galleggiante che interrompe l'aspirazione quando l'involucro è colmo.
Quindi spegnere l'apparecchio e vuotare l'involucro.
- IMPORTANTE: reinstallare sempre il filtro in panno e a cartuccia per l'aspirazione delle polveri, in modo da non causare inconve-
nienti all'apparecchio.
- Il rumore dell'apparecchio è inferior e a 85 dB(A)
GB
Packaging:
The vacuum is attached to a bench, covered by a cartoon. Opening the package and check that all parts are intact and have not
been damaged during transport. If I'the package appears damaged, immediately send a complaint to the carrier on the bill and
indicate that the material is withdrawn subject.
INSTALLATION
- Check the positioning of the filter and the closure of the hook-head drum. Incorrect positioning of the filter can cause serious
damage.
- Insert the hose into the suction nozzle, insert the end of the same accessory suitable for use (see page 5. Optional accessories).
- The vacuum is equipped with a cable which is mounted on a system plug IEC309-type three-phase three-wire (ground)16A
380-415V to 400V voltage.
- Check that the connections made are correct and workmanlike.
Connect the power cord to the power supply unit with the switches in position "0" (OFF).
WARNING: The three-phase plug must be connected only by authorized and experienced personnel.
- Keep areas free from the points of ventilation and do not place objects or other enclosures before starting, as well as during
operation.
- Place the machine on a secure and stable surface or at least apply the brakes of the front wheels by pressing the lever on the
bracket.
- Activate the machine by the power switch on the rear panel.
- For the suction of liquids, empty the dust from the tank, remove the polyester filter and apply the sponge filter.
WARNING: The unit is equipped with a float valve that stops the suction when the tank is filled. Then turn off the machine and
empty the tank.
- IMPORTANT: Always reinstall the polyester filter for dry use, so as not to cause inconvenience to the unit.
- The noise of the device is less than 85 dB (A).
F
Emballage:
Le vide est attaché à un banc, recouvert d'une bande dessinée. Ouverture de l'emballage et vérifier que toutes les parties slano
intactes et n'ont pas été endommagés pendant le transport. Si I'imballo semble endommagé, déposer immédiatement une
plainte auprès du transporteur sur le projet de loi et d'indiquer que le matériel est retiré sous réserve.
INSTALLATION
- Vérifier le positionnement du filtre et la fermeture du crochet-tambour de tête. Un positionnement incorrect du filtre peut causer
de graves dommages.
- Insérez le tuyau dans la buse d'aspiration, Insérez la fin de la même accessoire adapté à l'utilisation (voir page 5 accessoires
optional).
- Le vide est équipé d'un câble qui est monté sur un système de plug-IEC309 type triphasé à trois fils (terre) 16A 380-415V à 400V
tension.
- Vérifiez que les raccordements sont corrects et professionnelle.
Branchez le cordon d'alimentation au bloc d'alimentation avec les interrupteurs en position "0" (OFF).
AVERTISSEMENT: La prise triphasée doit être connecté uniquement par un personnel agréé et expérimenté.
- Conserver les zones exemptes de ventilation et ne placez pas d'objets, ou d'autres enceintes avant d'allumer, ainsi que pendant
le fonctionnement.
- Placez l'appareil sur un environnement sûr et stable, ou au moins appliquer les freins des roues avant en appuyant sur le levier
sur le support de leur montatta.
- Activer le fonctionnement de la manipulation de l'interrupteur d'alimentation sur le panneau arrière.
- Pour le liquide de vidange d'aspiration du boîtier et enlevez la poussière filtre en tissu.
AVERTISSEMENT: L'unité est équipée d'un robinet à flotteur qui arrête l'aspiration lorsque le réservoir est rempli. Ensuite,
éteignez la machine et vider l'enveloppe.
- IMPORTANT: toujours réinstaller le filtre en tissu pour l'extraction de la poussière, afin de ne pas causer d'inconvénients à l'unité.
- Le bruit de l'appareil est inférieur à 85 dB (A)
7
