Datalogic Skorpio X5 Skrócona instrukcja obsługi - Strona 6
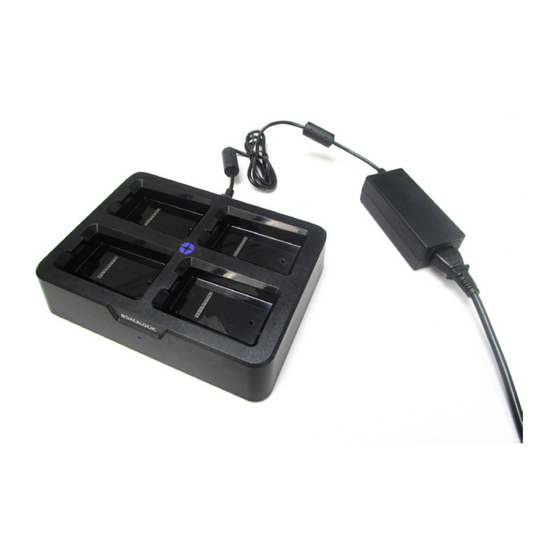
Przeglądaj online lub pobierz pdf Skrócona instrukcja obsługi dla Terminale dotykowe Datalogic Skorpio X5. Datalogic Skorpio X5 8 stron. 4 slot battery charger
Również dla Datalogic Skorpio X5: Skrócona instrukcja obsługi (2 strony), Skrócona instrukcja obsługi (2 strony)

Charging Instructions
The battery pack is not initially fully charged. After installing the battery, charge it with the Datalogic USB
Type-C wall adapter or with a dock.
During the charging process the charging LED positioned at the top left side of the display glows red
constantly. Once the charging process has been completed, the charging LED glows green constantly.
Charge with USB
Use the provided USB Type-C cable in conjunction with the Datalogic USB Type-C wall adapter to charge
the device from a power outlet.
You can also use the supplied Type-C cable to charge the Skorpio X5 from any self-powered USB hub or
USB port on a computer.
Use only the Datalogic power supply 943500051 SKORPIO X5 USB TYPE-C WALL ADAPTER to power
the Skorpio X5.
CAUTION
Charge with the Dock
Insert the device into the dock with the screen facing front and the head facing up.
Use only a Datalogic approved power supply to power any of the docks.
Do not put any foreign object such as, but not limited to, coins, paper clips, stickers inside the slot
of any of the wireless docks.
Do not apply any sticker to the Skorpio X5 (see the examples below).
CAUTION
No Clip
No Coin
No Sticker
No Sticker
The Skorpio X5 may get warm during charging. This is normal and does not mean a malfunction.
For information on the docks, refer to the Quick Start Guide included in the dock' s box.
NOTE
Scanning and Imaging
2D Imager Data Capture
To scan a bar code symbol:
1. Point the scan window at the bar code.
2. Press one of the scan triggers. The imager projects a laser aiming pattern that is used to position the
barcode or object within the field of view.
3. Center the symbol in any orientation within the aiming pattern. Ensure the entire symbol is within
the rectangular area formed by the brackets in the aiming pattern, then either wait for the timeout
or release the Scan Key to capture the image. A red beam illuminates the symbol, which is captured
and decoded.
If the scan has been successful:
y If enabled, the good read beep plays.
y If enabled, the GreenSpot projects a green spot onto the bar code image.
y If enabled, the good read indicator positioned at the top left side of the display glows solid green.
Linear Bar Code
Relative Size and Location of Aiming System Pattern
