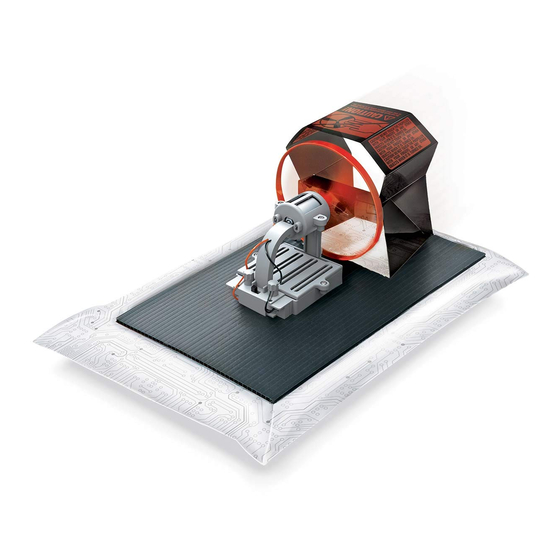
4M Hover Racer Skrócona instrukcja obsługi - Strona 3
Przeglądaj online lub pobierz pdf Skrócona instrukcja obsługi dla Zabawka 4M Hover Racer. 4M Hover Racer 7 stron.

D. ASSEMBLY
Follow these steps to assemble your Hover Racer.
Assembling the hover base body
1. Take the base panel. Apply double-sided adhesive tape along the three edges on one side as shown.
2. Apply double-sided adhesive tape on one side of the duct template as shown. Trim the excess tape.
3. Peel off the backing from the two smaller pieces of the tape. Apply the pieces of tape to the duct template
and fold it into shape.
4. Remove the backing from the remaining pieces of tapes on the duct template. Push it up through the cut-
out in the base so that its side tabs stick to the underside of the base.
5. Turn to the back of the base again. Apply a length of double-sided adhesive tape to the rear edge of the
base panel. Trim the excess tape. This will be used for sticking on the skirt in the later steps.
6. Pick up the plastic skirt. The skirt is composed of two layers of plastic. On one layer there is a printed
shaded area. Cut this area away with a pair of scissors. Remarks: Do not cut both layers of the skirt, instead
only the specified layer.
7. Place the plastic skirt on a flat surface, with the cut side facing up (see step 6). You should be able to read
the printed remark "This side facing up". Press the plastic to make it as flat as possible. Secure it in position
by applying reusable adhesives to the corners, as shown. Remove the backing from the double-sided adhesive
tape around the edge of the base. Pick up the base panel and position it so that the duct is directly on top of
the plastic skirt's inner rim where the shaded surface has been cut. You may now very slowly lower the base
onto the plastic skirt. Ensure that the base is placed centrally over the skirt with the edges aligned with the
dotted lines printed on the plastic skirt. (Tip: you can line up two books along the dotted lines. Use them as a
guide when lowering the base panel. This will help you to adhere the panel centrally on the skirt.) Press
firmly down on the base to ensure that the skirt sticks to the tape. Afterwards, remove the reusable
adhesives at the four corners of the plastic skirt.
8. Fold the arch template into shape and insert its tabs into the slots in the duct.
