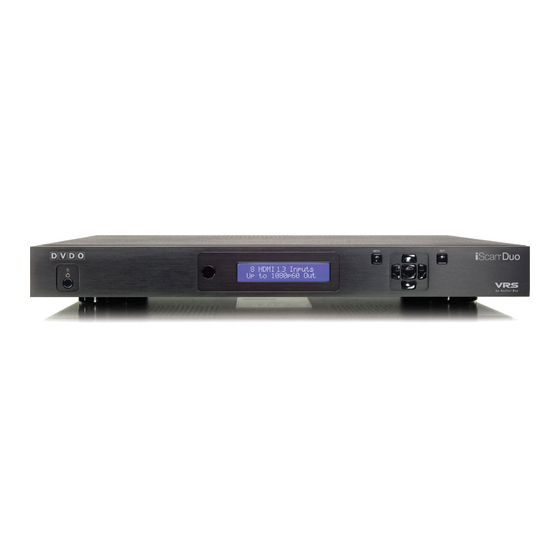
DVDO iScan Duo Instrukcja obsługi - Strona 7
Przeglądaj online lub pobierz pdf Instrukcja obsługi dla Konwerter mediów DVDO iScan Duo. DVDO iScan Duo 16 stron. Dual output high-definition video processor
Również dla DVDO iScan Duo: Dodatek do instrukcji obsługi (15 strony), Skrócona instrukcja obsługi (3 strony)

[1]
POWER
Always turns on the iScan Duo
[2]
STANDBY
Always puts the iScan Duo in standby mode
[3]
P1-P4
Reserved for future use
[4]
TEST PATTERNS
ON/OFF
: Turns Test Patterns On or Off
u
: Selects the next test pattern
t
: Selects the previous test pattern
[5]
OUTPUT SELECT
AUDIO
: Selects iScan Duo audio output (HMDI Video, HDMI Audio, Optical/Coax)
VIDEO
: Selects iScan Duo video output (HDMI1, HDMI2)
PROFILES : Reserved for future use
[6]
SHIFT
Press this button followed by
[7]
STRETCH
Press this button followed by navigation
image horizontally or
[8]
16:9
Sets the aspect ratio of the input image to 16:9 (Full Frame)
[9]
4:3
Sets the aspect ratio of the input image to 4:3 (Full Frame)
[10] ACTIVE
Selects active format aspect ratio i.e. the actual aspect ratio of the
content. For example, typical movie aspect ratios are 1.85:1 or 2.35:1
[11] PRESETS
Selects preset aspect ratios including 16:9 (Full Frame), 4:3 (Full Frame),
4:3 Letterbox and Panorama
[12] MENU
Use this button to access the on-screen main menu
[13] EXIT
Use this button to exit the current menu or the exit the on-screen menu
t u p q
[14]
ENTER
Menu Navigation buttons. Press ENTER to confirm a selection or to
enter a new menu
[15] ZOOM
p q
Use these buttons to magnify an input image while maintaining its
aspect ratio
[16] INFO
Use this button and the navigation
information about the iScan Duo's status and settings
[17] USER
p q
Reserved for future use
[18] Input Select buttons These buttons directly select the input on the iScan Duo.
Note: VIDEO 1 and VIDEO 2 are multi-function buttons. They select
Video 1 and Video 2 inputs respectively by default. However, if RGBS
is selected through the on-screen menu, the video input function is
disabled and the input becomes the sync (S) input for RGBS.
AUTO automatically selects an active input based on priority set by
the user. See Configuration Section under Input Priority on page 20.
5
t u p q
buttons to move the input image
t u
buttons to stretch the input
p q
buttons is to stretch the input image vertically
t u p q
buttons to display useful
Installation Guidelines
The iScan Duo installation guidelines below ensure optimal performance.
Do . . .
•
Install the iScan Duo on a solid, flat, level surface such as a table or shelf. You can also
install the iScan Duo in a standard 19" equipment rack using the supplied rack-mount kit.
•
Select a dry, well-ventilated location.
•
Use only the included external power supply.
•
Avoid excessive humidity, sudden temperature changes or temperature extremes.
•
Use only accessories recommended by the manufacturer to avoid fire, shock or other hazards.
•
Unplug your Duo before cleaning. Use a damp cloth for cleaning.
Don't . . .
•
Stack the iScan Duo directly above heat-producing equipment such as power
amplifiers or other components that generate heat during use.
•
Expose the iScan Duo to high temperatures, humidity, steam, smoke, dampness,
or excessive dust. Avoid installing the iScan Duo near radiators and other heat
producing appliances.
•
Install the iScan Duo near unshielded TV or FM antennas, cable TV decoders, and
other RF -emitting devices that might cause interference.
•
Place the iScan Duo on a thick rug or carpet or cover the iScan Duo with cloth.
This might prevent proper cooling.
•
Attempt to service this unit. Instead, disconnect it and contact your Authorized DVDO
Reseller or contact DVDO directly.
•
Open or remove unit panels or make any adjustments not described in this manual.
Attempting to do so could expose you to dangerous electrical shock or other hazards.
It may also cause damage to your iScan Duo.
6
