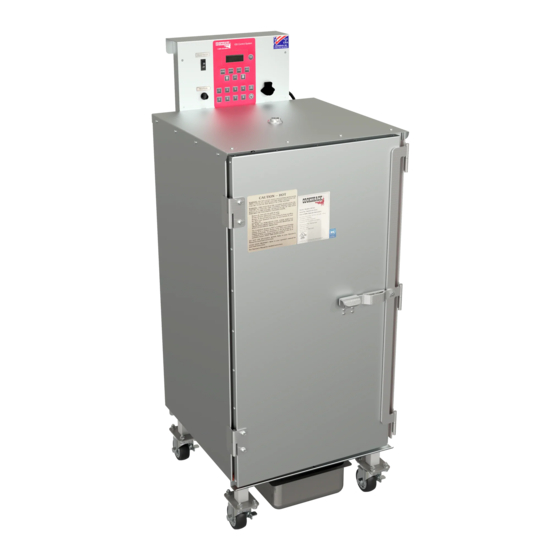
Cookshack SmartSmoker 150 Instrukcja obsługi - Strona 8
Przeglądaj online lub pobierz pdf Instrukcja obsługi dla grill Cookshack SmartSmoker 150. Cookshack SmartSmoker 150 19 stron. Smartsmoker oven
Również dla Cookshack SmartSmoker 150: Instrukcja obsługi (20 strony)

1.800.423.0698
Your Cookshack Model 150 and 160 has the new Cookshack IQ3 control system. This controller has the same
great cook & hold features as the previous models of the IQ controller, but with an additional feature that al-
lows you to cook with a meat probe. This optional probe plugs into the unit and allows you to set the internal
temperature to which you want the product cooked. If you did not purchase the meat probe with your unit, call
Cookshack Customer Service today at (800) 423-0698 to order your probe.
RCA jack. Place the probe end through the vent hole on the oven top and press into the largest piece of meat in
the smoker oven. The oven will cook at the set temperature, until the internal temperature of the meat hits the
temperature at which the probe is set. At that point the oven temperature will change to the set Hold Temp and
remain until the unit is manually shut down. An audible signal indicates that the Cook cycle is complete and
that the oven is going to the Hold Temperature.
If cooking in the default Cook & Hold mode the smoker will cook the product at the selected Cook Tempera-
ture for the selected Cook Time and then change to the selected Hold Temperature until it is shut off manually.
During the Cook & Hold mode, the LCD display of the IQ continually displays oven status after the Cook cy-
cle has been started. Using these features any kitchen staff can easily determine the status of the load in pro-
gress.
Please note that the Oven Temperature that is displayed while the oven is running is the actual temperature in-
side the oven. In order to see the Set Cook Temp, Hold Temp or Cook Time briefly press the corresponding
Set button.
Cookshack Model 150/160 SmartSmoker Oven
www.cookshack.com
Setting the Cooking Temperature
1. Turn Master Switch ON.
2. Choose the desired mode by pressing the mode button
while simultaneously pushing the up or down arrow: Cook
Mode for standard operation, Probe Mode if cooking with
the optional meat probe. The default mode is Cook &
Hold.
3. Set Cooking temperature by pressing and holding the
Cook Temp button. Adjust temperature up or down with
the "adjust time or temperature" buttons.
4. Set Hold temperature by pressing and holding the Hold
temperature button. Adjust with the "adjust time or tem-
perature" buttons.
5. If using the Cook & Hold mode, set Cook Time by press-
ing and holding the Cook Time button. Adjust with the
"adjust time or temperature" buttons.
6. If using the Probe Mode, adjust Probe Temperature by
pressing and Holding the Probe button. Adjust the tem-
perature with the "adjust time or temperature" buttons.
7. Press Start.
If using the Meat Probe, simply insert the probe into the covered
8
Ver. 06.1
