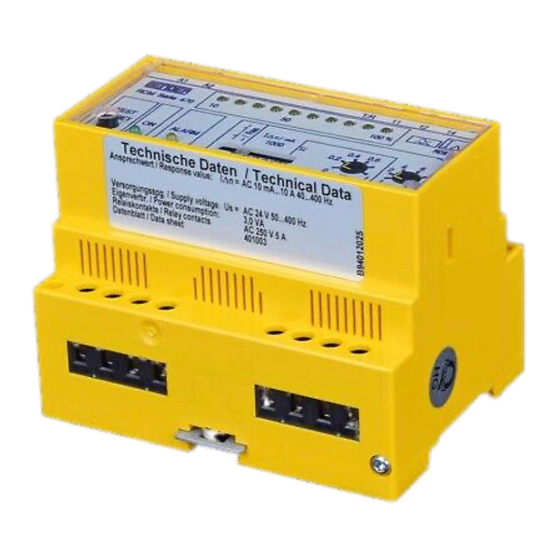
Bender B 94 012 018 Podręcznik - Strona 2
Przeglądaj online lub pobierz pdf Podręcznik dla Przekaźniki Bender B 94 012 018. Bender B 94 012 018 8 stron.

RCM470LY / RCM475LY
Die LED blinkt bei Unterbrechung des Messstromwand-
lers (nur RCM470LY)
4
DIP-Schalter für die Einstellung
- der Arbeitsweise des Alarm-Relais
- der Fehlerspeicherung Alarm-Relais und Alarm-LED
- des Ansprechbereiches
- der Ansprechverzögerung
5
LED-Laufpunktanzeige zeigt den Messwert in % bezogen
auf den eingestellten Ansprechwert
6
Ansprechverzögerung einstellen (0...1 s)
7
Ansprechwert einstellen (x 1...10 mA)
Montage und Anschluss
Stellen Sie vor Einbau des Gerätes und vor Arbei-
ten an den Anschlüssen des Gerätes sicher, dass
die Anlage spannungsfrei ist.
Wird dies nicht beachtet, so besteht für das Perso-
nal die Gefahr eines elektrischen Schlages.
Außerdem drohen Sachschäden an der elektri-
schen Anlage und die Zerstörung des Gerätes.
Montage
Das Gerät ist für folgende Einbauarten geeignet:
Installationsverteiler nach DIN 43 871 oder
●
Schnellmontage auf Hutprofilschiene nach IEC 60715
●
oder Schraubmontage.
●
Maßbild
ø 4,3
Alle Maße in mm
Anschluss
Schießen Sie das RCM wie folgt an. Beachten Sie dabei das An-
zugsdrehmoment für die Klemmschrauben der Anschlüsse (siehe
Technische Daten).
1.
Anschluss der Versorgungsspannung
Verbinden Sie die Anschlussklemmen des Gerätes mit der
erforderlichen Versorgungsspannung U
schild). Sichern Sie die Zuleitung mit einer Sicherung 6 A
ab.
2.
Anschluss des zu überwachenden Netzes
Achtung: PE-Leiter nicht durch den Messstromwandler
führen!
RCM470LY-.. :
– Schließen Sie den externen Messstromwandler an die
Klemmen k und l an.
2
4
5
6
7
Installation and Connection
Installation
The device is suited for:
Dimension Diagram
RCM470LY
All dimensions in mm
Connection
Connect the RCM as described below. Consider thereby the
tightening torque for the terminal screws of the connections (see
technical data).
1.
(Siehe Typen-
S
2.
The LED „ALARM" flashes in case of CT interruption
(RCM470LY only)
DIP switches for the setting of
- the operating principle of the alarm relay
- the fault memory alarm relay and alarm LED
- the response value
- the response delay
LED bar graph indicator, displays the residual current re-
lated to the adjusted response value
Adjustable response delay (0...1 s)
Adjustable response value (x 1...10 mA)
Prior to installation and before any work is carried
out on the connecting cables, make sure that the
mains power is disconnected.
Failure to comply with this safety information
may cause electric shock to personnel.
Substantial damages to the electrical installation
and destruction of the device may occur.
mounting into standard distribution panels acc. to DIN 43 871
●
DIN rail mounting in compliance with IEC 60715
●
or screw mounting.
●
ø 4,3
Connection to the supply voltage:
Connect the connecting terminals of the device to the
required supply voltage U
recommended for short-circuit protection.
Connection to the system to be monitored:
Note: Do not pass the PE conductor through the CT!
RCM470LY-.. :
– Connect the external CT to the terminals k and l.
– Lead the conductors to be monitored through the CT.
TBP401003deen / 09.2008
RCM475LY
(see nameplate). A 6 A fuse is
S
