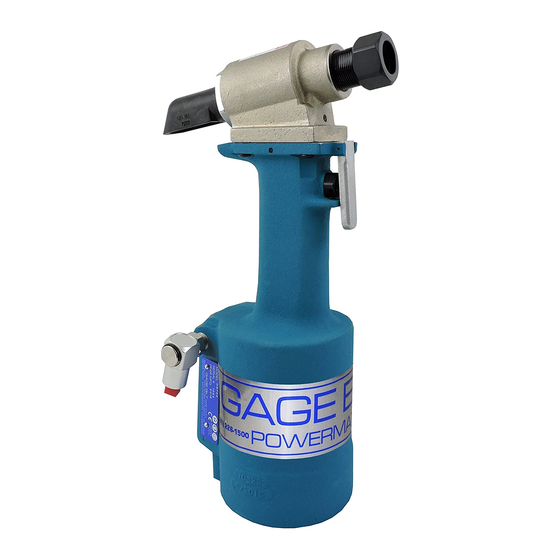
Gage Bilt GB722 Instrukcja instalacji - Strona 8
Przeglądaj online lub pobierz pdf Instrukcja instalacji dla Narzędzia do nitów Gage Bilt GB722. Gage Bilt GB722 13 stron. Installation tool
Również dla Gage Bilt GB722: Oryginalna instrukcja obsługi (20 strony), Oryginalna instrukcja obsługi (20 strony)

OVERHAUL
WARNING:
Disconnect tool from its air source before performing overhaul.
WARNING:
Tool must be maintained in a safe working condition at all times and examined on a regular daily
basis for damage or wear. Any repair should be done by qualified personnel trained on Gage Bilt
procedures.
WARNING:
When operating, repairing or overhauling tool, wear approved eye protection. Do not look in Front
of tool or rear of tool when installing fastener.
WARNING:
Depress lever assy and disconnect from air, with the piston in the rear position, before overhaul.
Severe personal injury may occur if air hose is not disconnected.
piston rod assy downward with head cylinder removed. Hydraulic oil will eject forcibly from handle
assy.
The disassembly and re-assembly procedure can be accomplished by utilizing the following instructions and drawings. Use extreme
care during disassembly and re-assembly not to mar or nick any smooth surface that comes in contact with seals. Before installing
seals, always apply a good lubricant, such as Lubriplate®, to the surfaces. It is recommended that tool kit (GB704TK) be used to
facilitate overhaul. A complete overhaul can be achieved by the use of Service Kit (722004) which contains a complete set of o'rings,
back-up rings, screws, washers and gasket. It is recommended that this service kit be kept available for spare parts.
756610 STEM CATCHER BAG
PISTON ROD WRENCH
REMOVING 704130 AIR ACTUATOR ASSY
CAUTION:
Air actuator assy can break if not careful.
1.
Remove actuator lever assy (704343) including pin.
2.
With actuator lever assy (704343) removed, insert a 5/8" (15.9 mm) open end
box wrench around air actuator assy (704130).
3.
Loosen the air actuator assy (704130).
4.
Remove wrench. Unthread and remove the air actuator assy (704130) with
fingers from the handle assy (722132).
INSTALLING 704130 AIR ACTUATOR ASSY
CAUTION:
Do not over tighten air actuator assy. Snug tighten only.
1.
Apply Teflon® tape onto threads of air actuator assy (704130) one to two wraps.
2.
Thread the air actuator assy (704130) all the way into handle assy (722132) with fingers.
3.
Insert and turn 5/8" (15.9 mm) wrench and snug tight approximately 1/4-1/2 turn.
4.
Re-attach the actuator lever assy (704343) with pin.
S/N: 1753 AND ABOVE
PLEASE CONTACT GAGE BILT FOR ALL OTHER SERIAL NUMBERS.
704151
POWER CYLINDER TOOL
704149
PACKING PLUG WRENCH
(756610 CATCHER BAG AS SHOWN ABOVE IS SOLD SEPARATELY)
GB704TK Service Tool Kit Includes:
Part No.
Description
704149
Piston Rod Wrench
704150
Packing Plug Wrench
704151
Power Cylinder Tool
704152
Seal Guide
704153
Bleeder Bottle
S1178
Valve Extractor
704162
Valve Spring Installation Tool
704163
Valve Sleeve Removal Tool
704152
SEAL GUIDE
704150
704153
BLEEDER BOTTLE
8
USE CAUTION
704162
VALVE SPRING
INSTALLATION TOOL
704163
VALVE SLEEVE
REMOVAL TOOL
when forcing
S1178
VALVE EXTRACTOR
REV. 1/15
