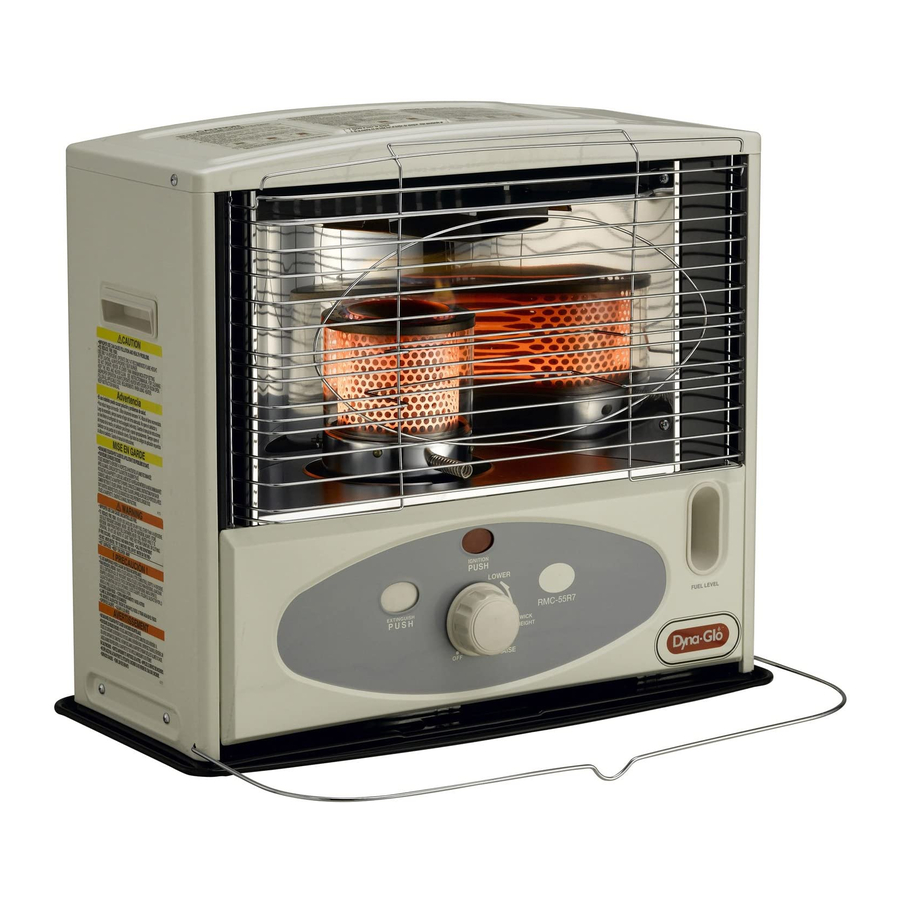
Dyna-Glo RMC-55R7 Instrukcja obsługi - Strona 14
Przeglądaj online lub pobierz pdf Instrukcja obsługi dla Grzałka gazowa Dyna-Glo RMC-55R7. Dyna-Glo RMC-55R7 20 stron. Portable kerosene heater
Również dla Dyna-Glo RMC-55R7: Instrukcja obsługi (20 strony)

CHECKING THE IGNITION SYSTEM
If the automatic ignition system fails to operate properly,
perform the following checks:
- BATTERIES - 2 "D" cell batteries are located at the rear of the heater.
Check for proper installation. And / or Replace with new batteries.
- IGNITE R PLUG - If the automatic ignition system still doesn't work
after replacing the batteries, check the igniter plug. If the glow coil
filament is broken, bent, or doesn't glow when engaged via the ignition lever,
it must be replaced. CAUTION: Be sure Igniter plug is 2.5V DC, 1A only.
To replace the igniter plug (Fig. 11);
- Remove the batteries.
- Open the protective grille and remove and the burner assembly.
- Push the ignition button to raise the igniter plug.
- Push the igniter plug in and turn in a counterclockwise direction to remove.
- Install a new igniter plug (2.5V DC, 1 A only) by pushing it in and turning it in a clockwise direction.
- Replace the burner assembly, close the protective grill, and reinstall the batteries.
GLASS CYLINDER REPLACEMENT
Remove speed nuts holding cross pins with a pair of pliers or
pry off with a screwdriver. Then pull out cross pins. Replace
glass cylinder. In reassembling, make sure that inner and outer
cylinders are set in their proper places.
WICK ADJUSTER MECHANISM
Turning the wick adjuster knob in a clockwise direction lifts the wick to the top of the wick holder assembly. As the wick
is dialed up, the torsion spring located on the wick control shaft is compressed. Raising the wick to the full up position
allows the wick to come into contact with the igniter when the ignition knob is depressed. Pressing the extinguish button
causes the torsion spring to rapidly lower the wick. You can slow the speed at which the wick is lowered by holding the
wick adjuster knob when pressing the manual extinguish button. By slowly releasing the wick adjuster knob, you can
slow the speed at which the wick is lowered and reduce the chance of encountering a kerosene odor when
extinguishing the heater.
AUTOMATIC SAFETY SHUT-OFF DEVICE
This heater is equipped with an automatic safety shut-off device. The purpose of this device is to quickly and efficiently
shut off the heater should the heater be jarred or tipped over while in operation. This is the main safety system that is
built into the heater, and it functions to prevent the flame from spreading if the heater is knocked over.
The automatic safety shut-off device is built into the mechanism that raises and lowers the wick. It has been designed
so that if the pendulum is jarred by a shock of some sort, It retracts a latch from the wick control shaft ratchet, and a
torsion spring reacts to drop the wick to its fully lowered position. This rapid lowering of the wick extinguishes the flame.
Do not attempt to adjust the torsion spring.
IMPORTANT NOTICE: For the automatic safety shut- off device to function properly, the wick must be free of
carbon and tar deposits. Regularly performing the "Carbon Removal / Dry burning" procedure
described in the "Wick Maintenance" and "Carbon Removal / Dry Burning" sections on page9
is very important to the proper functioning of this important safety device.
IMPORTANT NOTICE: PLEASE CHECK THE AUTOMATIC SAFETY SHUT-OFF DEVICE ONCE A WEEK
DURING THE HEATING SEASON TO INSURE THAT IT IS FUNCTIONING PROPERLY.
IMPORTANT NOTICE: EVERY TIME THE WICK IS REMOVED OR REPLACED, THE AUTOMATIC SAFETY
SHUT-OFF DEVICE MUST BE TESTED TO INSURE THAT IT IS FUNCTIONING PROPERLY.
Inner cylinder
Outer cylinder
13
Fig. 11
Glass cylinder
Burner cylinder
Speed nut
Cross pin
