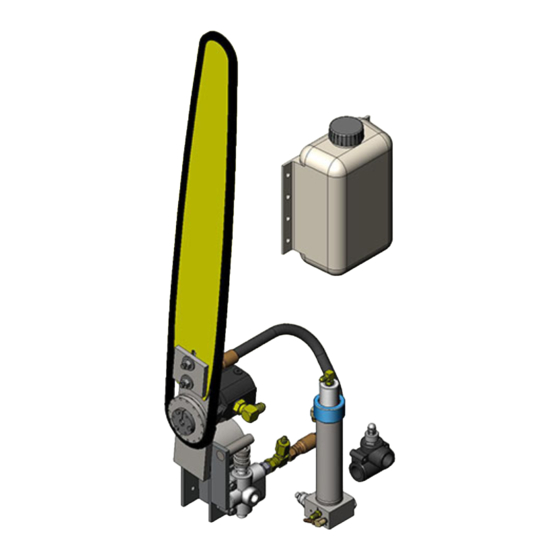
6K Products 15G36 Instrukcja obsługi i części - Strona 8
Przeglądaj online lub pobierz pdf Instrukcja obsługi i części dla Piła 6K Products 15G36. 6K Products 15G36 12 stron. Simple saw system
Również dla 6K Products 15G36: Instrukcja obsługi i części (14 strony)

Sprocket Removal and Replacement
The chain saw sprocket is connected to the shaft with a tapered bushing. To remove the sprocket remove the Cap
Screws (Fig. 6, Item 3) and screw them into the Threaded Holes, tighten up to 36 inch pounds to push the Sprocket
(Fig. 6, Item 1) off the Bushing (Fig. 6, Item 2). You may need to tap the Sprocket towards the motor with a hammer
to assist in getting the Sprocket loose from the Bushing. Lightly drive a flat blade screwdriver into the slot of the
Bushing.
Fig. 6
Pry between the Bushing and the Sprocket to get the Bushing off the shaft. Watch that the Drive Key (Fig. 6, item 4)
does not get lost.
To install the Sprocket, slide the Sprocket (Fig. 6, item 1) over the motor shaft, slide the Bushing (Fig. 6, item 2) onto
the shaft with the Drive Key (Fig. 6, item 4) aligned. Position the sprocket groove offset towards the motor about the
width of the bar groove with the Bushing just contacting the Sprocket. Insert the Cap Screws (Fig. 6, item 3) through
the large hole in the Bushing and screw them into the threaded holes of the Sprocket. Torque the Cap Screws (Fig. 6,
item 3) to 36 inch pounds. Check to make sure the sprocket groove is aligned with the bar groove. If the alignment is
not correct, remove and replace the sprocket and bushing and adjust the position before tightening the cap screws.
8
