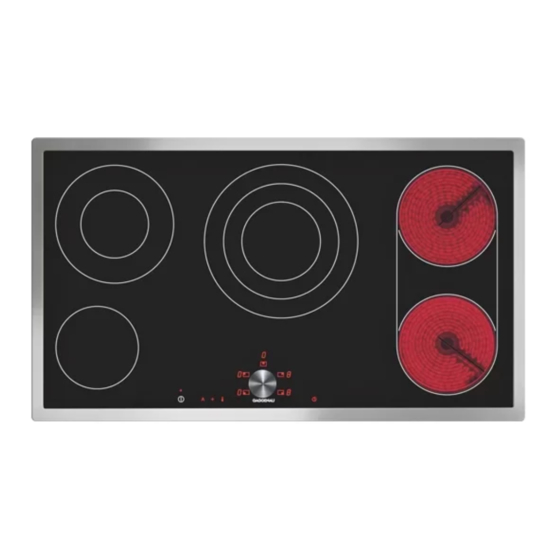
Gaggenau CE 491 Instrukcja obsługi - Strona 11
Przeglądaj online lub pobierz pdf Instrukcja obsługi dla Płyta grzewcza Gaggenau CE 491. Gaggenau CE 491 20 stron. Glass ceramic cooktop

Quick boil timer
All of the cooking zones have quick boil timer. By
activating the quick boil timer, the heat setting that is
set increases to the maximum setting for a few
minutes. This means that the simmering temperature
for the food is reached sooner.
Once the boiling time has elapsed, the appliance
automatically switches to the heat setting that was set.
You can set the duration of the boiling time.
You cannot activate the quick boil timer in heat setting
9.
Switching on the quick boil timer
The cooktop must have been switched on at the main
switch.
1
Select the cooking zone. Do this by pushing the
magnetic knob in the direction of the
corresponding cooking zone symbol.
2
Centre the magnetic knob again on the twistpad.
3
Use the magnetic knob to select the required heat
setting within 5 seconds.
The selected heat setting lights up on the heat
setting display.
4
Touch the A symbol within 5 seconds.
The heat setting display and A light up alternately.
5
Within 5 seconds, you can change the boiling
time. The default setting is 3 minutes. You can use
the magnetic knob to set a time of between 1 and
20 minutes.
You can set different boiling times for each individual
cooking position. If you reactivate the quick boil timer,
the last boiling time that you set remains as the
presetting.
After the food has been brought to the boil, only the
ongoing cooking setting remains lit on the display.
Switching off the quick boil timer
You can also switch off the quick boil timer before the
boiling time has elapsed (e.g. because the food is
cooking too quickly).
1
Select the cooking zone.
2
Touch the A symbol within 5 seconds.
The cooktop switches back to the heat setting
that was set.
Frying sensor function
The triple circuit cooking zone has a frying sensor
function. If you operate the hotplate using the frying
sensor function, the sensor regulates the temperature
of the pan. The hotplate only heats up when
necessary. This will save energy. Oil and fat do not
overheat.
The frying sensor function can only be operated with
the centre area. When the frying sensor function is
set, the centre area is switched on automatically.
Notes
‒
Never leave fat unattended while you are heating
it.
‒
Place the pan in the centre of the cooking zone.
Make sure that the base of the pan has the
correct diameter.
‒
Do not place a lid on the pan, otherwise the
regulator will not work. You can use a spatter
guard.
‒
Select the min frying setting if you are using olive
oil?. If you are using an oil or fat that? can be
heated to high temperatures, e.g. refined? plant
oils or clarified butter,? you can use all the frying
settings.
Pans for the frying sensor function
You can buy a frying pan that is perfectly suited to
frying with the sensor cooking system from your
specialist electrical retailer or from
www.gaggenau.com
Availability and online buying possibilities differ
depending on the country.
The frying settings given below have been adjusted to
the system pans.
Note: The sensor frying system may also work with
other pans. Test the pans first with low frying settings,
changing as necessary. The pans may overheat on
high frying settings.
11
