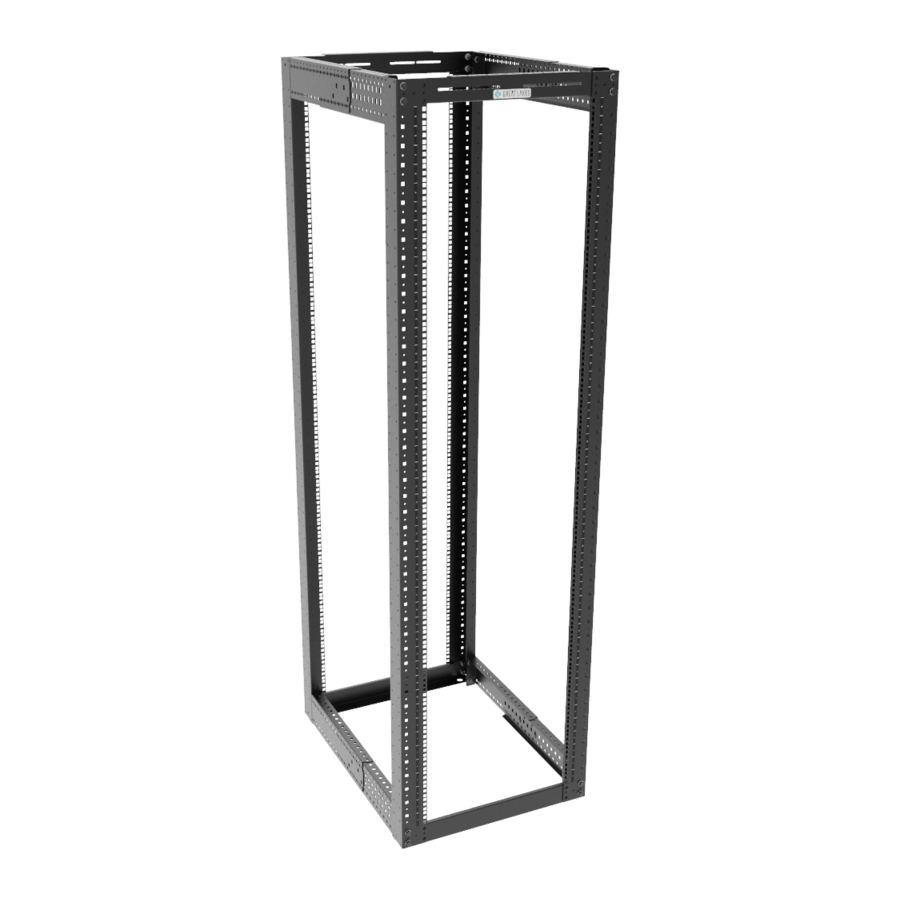
Great Lakes VRX Instrukcja instalacji - Strona 7
Przeglądaj online lub pobierz pdf Instrukcja instalacji dla Stojaki i stojaki Great Lakes VRX. Great Lakes VRX 12 stron. Highlander variable depth racks

STEP 1 CONTINUED To assemble a cross member and extension bar, determine the desired rack
depth. Insert the small square tab of the rear member cross piece into the correct square hole
on the extension bar. Push down on the cross member so that the tab is inserted firmly into the
extension bar hole. Install 1/4-20 bolt and nut on any side hole as shown in DIAGRAM D.
Once the cross members and extension bars have been assembled, the variable depth side rails can
be mounted to the uprights (see DIAGRAM E & F).
Front
Extension
Bar
2. Assemble top width brackets to vertical uprights. DO NOT TIGHTEN!
3/8" Ext. Tooth Washer
3/8-16 x 1" lg Hex
Head Bolt
DIAGRAM D
1/4-20 Nut
DIAGRAM E
Rear Cross
Member
1/4-20 Bolt
3/8" Ext. Tooth Washer
Note orientation of left and
right depth side rails as
well as which direction the
assembly should be facing
(front or rear).
3/8-16 x 1" lg Hex
Head Bolt
7
