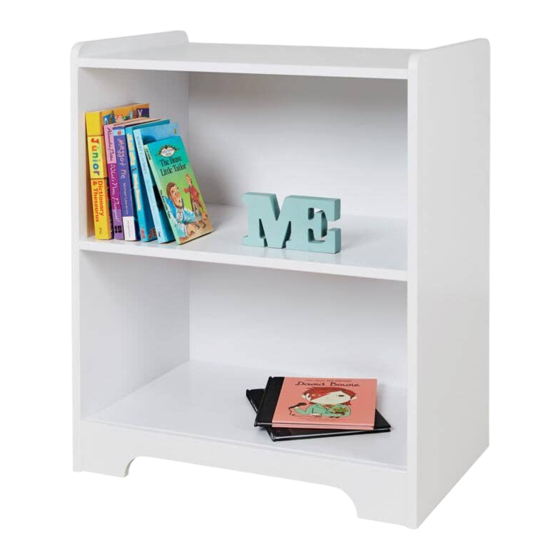
Great Little Trading Paddington L5486 Skrócona instrukcja obsługi - Strona 5
Przeglądaj online lub pobierz pdf Skrócona instrukcja obsługi dla Wyposażenie wnętrz Great Little Trading Paddington L5486. Great Little Trading Paddington L5486 7 stron. Storage shelf

TOP
A
D
#3
#3
#3
#3
C
BACK
STEP 4:
Carefully place joined base panels E/F onto side panel C as shown. Ensure the
large drill holes on panel E are facing outwards/down and the front panel feet are
aligning with smooth edge of panel C.
When all hardware is aligned with the corresponding holes, push into place. Now
insert 3x cam locks (#3) into the large holes by the joins on panels E/F and turn
clockwise to secure.
Next take shelf panel D and with the large drill holes facing towards the previous
panel, align and connect with panel C as shown. Insert 2x cam locks into the large
holes on the panel and turn clockwise to secure.
Finally take top panel A and align/connect with the remaining hardware on panel C
at the top end. Again ensure the large drill holes are facing towards the previous
panel, then insert 2x cam locks into the holes and turn clockwise to secure.
Orientation notes: The TOP of the side panels B & C has the more rounded
corners.The BACK edge has the groove taken out of it, FRONT edge is smooth.
Hardware for Step 4:
7x #3 Cam Locks
Using Cam Locks:
When inserting into the
panel, ensure that each cam
lock's arrow is pointing
towards the drill hole on the
side edge of the panel & the
E
dowel that it will be
receiving.
When the panels are in the
connected position, using a
screwdriver, turn the cam
lock in a clockwise direction
to lock and secure.
#3
#3
#3
#3
BASE
STEP 5:
Slide carefully back panels G into the grooves
Orientation Notes: The upper back panel has the label in the top left corner,
the lower panel has the logo in the lower centre. These labels should be facing
out
G
5
G
