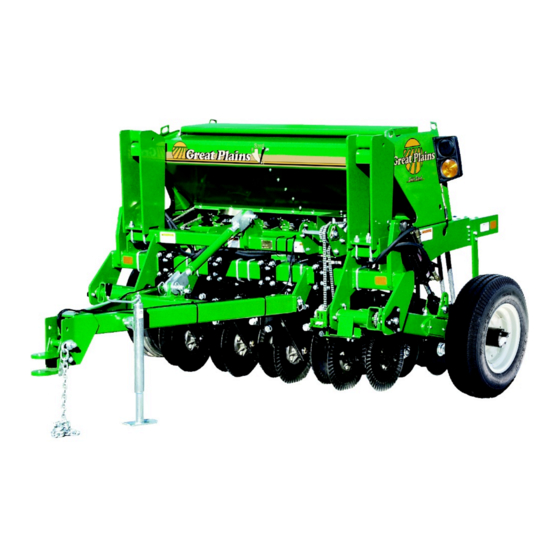
GREAT PLAINS 606NT Instrukcja instalacji - Strona 5
Przeglądaj online lub pobierz pdf Instrukcja instalacji dla Sprzęt rolniczy GREAT PLAINS 606NT. GREAT PLAINS 606NT 6 stron. Six foot no-till drills
Również dla GREAT PLAINS 606NT: Podręcznik konserwacji (7 strony)

Drive Idler Adjustment:
Two idler sprockets are located inside the left hand gauge
wheel arm. They should be re-adjusted after the first 100
acres of use. From then on, re-adjust at the beginning of each
season.
1) Loosen the jam nut (3).
2) Move the front idler sprocket on top of the chain and tighten
the chain by screwing in the adjustment stud (4).
3) Re-tighten the jam nut to maintain idler position.
not over-tighten the stud. Insufficient slack causes excessive
wear and premature chain failure.
Seed Cup Adjustment:
Check all seed cups to ensure that they are clean and free of
obstructions. The seed rate handle should move freely and
not have excessive play in it.
1) To check seed cups for accuracy, loosen the seed adjust-
ment handle by unscrewing the wing nut located on the under-
side of the handle and sliding the seed box rate handle to 100.
2) Place a seed calibration too (817-459C) into the seed cup
from the top (use the 7/8" side)
3) Once the tool has been placed into the seed cup, slide the
seed adjustment handle until the feed wheel presses up
against the block tightly.
4) With the feed wheel pressed tightly against the calibration
tool, the seed cups are set at exactly 50%. The brass gauge
should read 50%. If the seed adjustment handle is not lined up
on 50%, loosen the two screws holding the gauge and adjust
the brass plate until it reads 50% then tighten the screws.
Feed Cup Adjustment:
Each feed cup is equipped with a four-position adjustment
handle.
A) The highest position is for wheat and other small grains.
B) The second position is for soybeans and other large grains.
C) The third position is used if the seeds are cracking in the
second position.
D) The bottom position is for clean out and will drain all seed
Note: Do not open the seed cup handle to the bottom position
with seed in the box unless complete clean out is desired.
Changing this handle will change the seeding rate. When stor-
ing after drilling season, it is best to place the handle in the
bottom position to prevent damage from mice.
Note: Do
48741
48381
48380
48509
5 of 6
4
3
A
B
C
D
Document
#DRUS500C-0003A
