Hi-Z Antennas HIZ-SS2 Podręcznik - Strona 6
Przeglądaj online lub pobierz pdf Podręcznik dla Odbiornik Hi-Z Antennas HIZ-SS2. Hi-Z Antennas HIZ-SS2 12 stron. Receiving array controller with an oled display
Hi-Z Receiving Array Shack Switch Using an OLED Display
Assuming you are ready to install the SS2, go ahead and connect the 12 Volt
supply at this time and also the CTRL lines coming from the array. Connect the USB
power and watch the new controller initialize and become active for direction control. If
you did not select your intended array to control in the previous steps, depress the
direction control knob and select your array now using the previous description or the
description below for the programming directions that ends with a knob depress. You
should be able to control your array's direction easily at this point using the direction
control knob.
4. Programming
All basic programming of the HIZ-SS2 begins with a push of the direction control knob
and ends with the same push after making a selection. All the programming functions
below assume the SS2 has been powered up either by a USB supply or a computer. All
programming will remain in effect when the controller is powered off and it will return
when the power is restored.
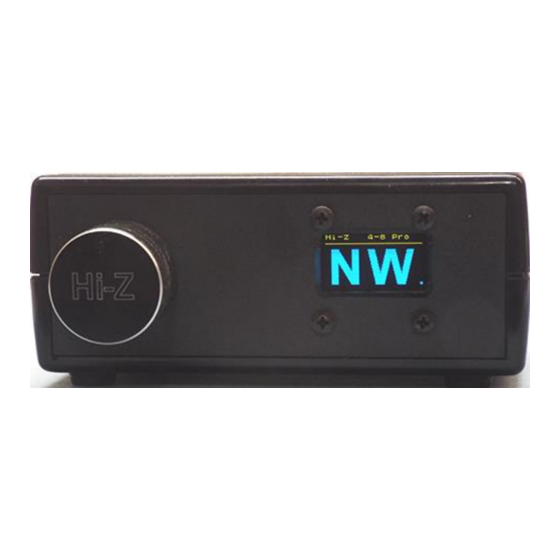
Here is an example using the Hi-Z Knob for a programming sequence.
Direction Screen
4.1.
Set Antenna Type
First, push the Hi-Z knob which brings up the directories of all the
programming functions. Rotate the Hi-Z knob until
screen. Depress the Hi-Z knob again and you will see one of the Hi-Z arrays description
displayed. Rotate the knob until you see the correct array you are programming the
controller for. Depress the knob again and the array will be set into memory and the
Set Antenna Screen
Hi-Z Antennas Shack Switch 2 Rev.1 10-13-2019
Set Antenna Screen
"Set Antenna
7
Back to Direction Screen
Type" is viewed on the