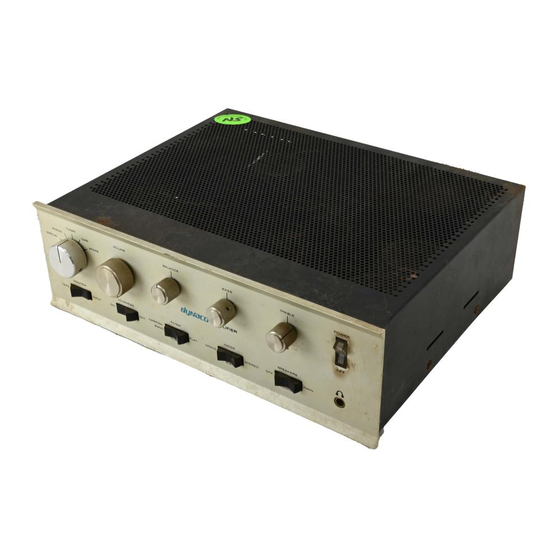
DYNACO SCA-80 Podręcznik - Strona 5
Przeglądaj online lub pobierz pdf Podręcznik dla Wzmacniacz DYNACO SCA-80. DYNACO SCA-80 12 stron. C9 replacement
Również dla DYNACO SCA-80: Instrukcja montażu (15 strony)

a) You may proceed with the rest of these directions if the actual voltage is
between 68 and 76 volts.
b) If the voltage is more than 80 Volts, do not go on until you have determined
why this might be so. There are a number of taps on the power transformer
primary to support various line voltages. Your SCA80(Q) might have these
taps mis-set for your prevailing voltage. This is especially possible if your
amp is new to you, e.g. an Ebay purchase.
c) If the voltage is less than 68 volts, it may be owing to:
o Loss of capacitance (which is why you're replacing C9)
o Excessive load from a defective amplifier module
o A blown fuse
o Open diodes in the power supply
If the voltage on C9 was within tolerance, then:
1. Remove the power plug from the wall socket
2. Turn the SCA80(Q) power switch off.
3. Allow one full minute for the capacitors to discharge.
Removing C9
1. Tag the wires connected to C9 with plus and minus labels before desoldering
them from C9's terminals.
2. Remove the three sets of 6-32 hardware (screw, nut, and lock-washer) that hold
C9 to the chassis.
3. Lift C9 and its retaining clamp out of the chassis.
Building the Dynamite Capacitor
1. You'll replace C9, a single 2" diameter capacitor with three capacitors, as shown
in Figure 2. The three caps are glued into a polycarbonate with a 2" diameter.
2. Note that the three capacitors have their negative leads in the center of the
grouping.
3. Use the supplied 6-32x5/8" Phillips head sem screw (built-in lockwasher) and
keps nut (also with a built in lockwasher) to tighten the clamp.
4. For now, tighten the screws a bit more than finger-tight.
Figure 2-Triple cap installed into the capacitor clamp
5. Construct the ground harness for the caps:
Page 5 of 12
