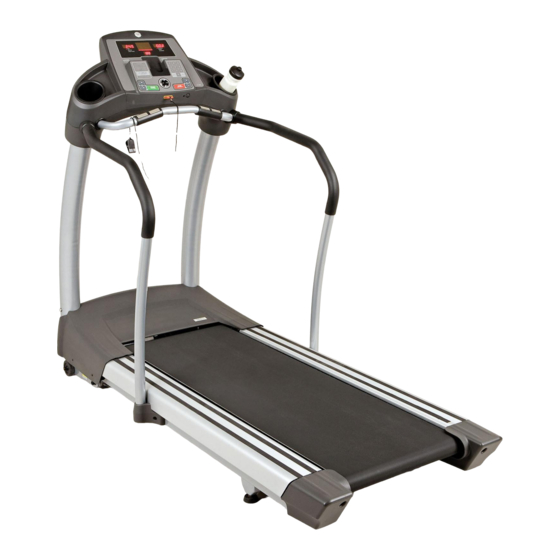
AFG 13.0AT Podręcznik użytkownika - Strona 5
Przeglądaj online lub pobierz pdf Podręcznik użytkownika dla Bieżnia AFG 13.0AT. AFG 13.0AT 19 stron.
Również dla AFG 13.0AT: Podręcznik użytkownika (20 strony)

P R E- ASSE MBLY
NOTE:
During each assembly step, ensure that ALL nuts and bolts are in place and partially threaded in before
completely tightening any ONE bolt. NOTE: A light application of grease may aid in the installation of hardware.
Any grease, such as lithium bike grease is recommended.
AS SE MB LY ST EP 1
PINK HARDWARE BAG CONTENTS :
SPRING WASHER (B)
BOLT (A)
15 mm
8.2 mm
Qty: 6
Qty: 6
CONSOLE MAST
SPRING WASHER (B)
WASHER (C)
BOLT (A)
BASE FRAME
13.0AT_Rev.1.7.indd 8-9
A Open PINK HARDWARE BAG.
ARC WASHER (C)
B Connect the CONSOLE WIRES
8.4 mm
Qty: 6
from the BASE FRAME to the
bottom of the CONSOLE MAST.
C Attach LEFT CONSOLE MAST
using 3 BOLTS (A), 3 SPRING
WASHERS (B) and 3 ARC
WASHERS (C).
D Repeat on other side.
* NOTE: Be careful not to pinch any
wires while assembling the masts.
CONSOLE WIRES
* NOTE: During mast
assembly, ensure that ALL
screws and bolts are in place
and partially threaded in
before completely tightening
any ONE screw or bolt.
ASSEMBLY STEP 2
BLUE HARDWARE BAG CONTENTS :
BOLT (D)
20 mm
Qty: 2
SUGGESTED METHOD FOR STARTING BOLT
CONSOLE
BOLT (D)
CONSOLE WIRES
CUP HOLDER
A Open BLUE HARDWARE BAG.
B Connect the CONSOLE WIRES
from the CONSOLE to those from
the top of the MAST.
C Attach CONSOLE to the
CONSOLE MASTS using
1 BOLT (D).
D Repeat on other side.
E Tighten all console bolts.
F Snap each of the CUP HOLDERS
firmly into the CONSOLE.
* NOTE: Be careful not to pinch any
wires while assembling the console.
* NOTE: During console
assembly, ensure that ALL
screws and bolts are in place
and partially threaded in
before completely tightening
any ONE screw or bolt.
4/1/08 3:41:02 PM
