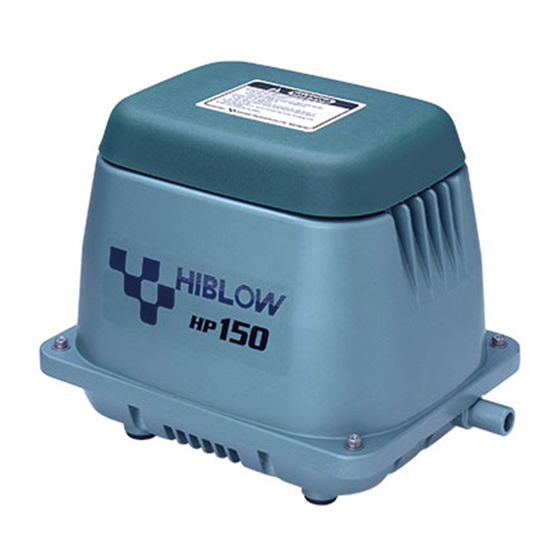
HIBLOW HP Series Skrócona instrukcja obsługi - Strona 7
Przeglądaj online lub pobierz pdf Skrócona instrukcja obsługi dla Pompa wodna HIBLOW HP Series. HIBLOW HP Series 7 stron.
Również dla HIBLOW HP Series: Podręcznik (5 strony), Podręcznik (8 strony), Podręcznik (9 strony)

HP- 60/80
STEP
STEP
MOUNTING THE ELECTROMAGNET
4
4
Mount new electromagnet in the unit.
Tighten up hexagonal nuts with nut driver.
STEP
STEP
5
5
Install the SP switch to the frame with the screws.
●Be careful of the direction of switch lever. (Refer to the
pictures)
STEP
STEP
6
6
Insert the wire into the silicon tube, and tie up in a
bundle.
Strip the coating off each wire.
(5-7mm from the end)
Connect the wires to the terminals.
Solder the wires to the terminals.
The wire requires a soldered connection.
STEP
STEP
7
7
This completes the electromagnet replacement
procedure.
PO Box 1524, Oxenford QLD 4210 35 Scenic Cr, Coomera QLD 4209
Email: [email protected] Web: www.goodies.net.au
REPLACING THE ELECTROMAGNET
Goodies Wastewater Supplies
Phone: 1300 282 181 Fax: 1300 282 989
7
