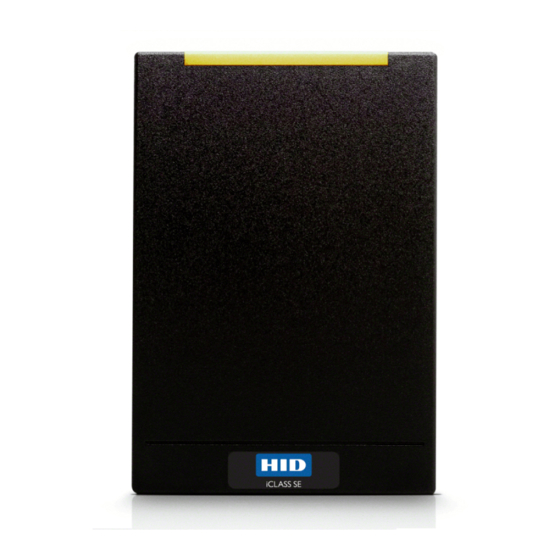
HID RP15MA Instrukcja instalacji - Strona 2
Przeglądaj online lub pobierz pdf Instrukcja instalacji dla Czytnik kart HID RP15MA. HID RP15MA 2 stron. 13.56 mhz contactless.
Również dla HID RP15MA: Instrukcja instalacji (9 strony), Instrukcja instalacji (14 strony), Instrukcja instalacji (2 strony)

INSTALLATION GUIDE
1
Mounting
Junction box
not included
Gasket optional
2
Wiring
18 in
(0.46 m)
PIGTAIL***
TERMINAL
Yellow
P1-1
Orange
P1-2
Black
P1-3
Red
P1-4
Drain
P1-5
Brown
P1-6
Blue
P1-7
Red/Green
P2-7
Tan
P2-6
Violet
P2-5
White
P2-4
Green
P2-3
Pink
P2-2
Gray
P2-1
* Tamper Output. When activated, output syncs to ground (default).
** Dependent upon reader configuration. See HTOG Wiegand and Clock-and-Data
configurations for more information.
*** For 5 meter pigtail readers, PN: 9xxxxxLEKxxxxx follow the wiring diagram on the reader.
Optional Features
Open Collector Output - Controls an external device (5 VDC) operating in Host Mode only. Sink – 40mA / Source – 1mA.
Optical Tamper – A configuration card is necessary to activate the Optical Tamper. Once activated, and when the mounting plate is removed, the Optical
Tamper is activated. Contact HID Technical Support for Optical Tamper options.
Configuration Cards – With the use of configuration cards, the reader can be modified to meet the specific requirements of an installation. Configuration
options include; audio visual, CSN outputs and keypad outputs (keypad models only). Contact HID Technical Support for all reader configuration options.
Hold Input – when asserted, this line either buffers a card or disables a card read until released, as configured.
hi dg l o b a l.com
R10E, RP10E, R15E, RP15E, R40E, RP40E, RK40E, RPK40E, R10MA, RP10MA, RP15MA, R40MA, RP40MA, RPK40MA
ATTENTION
Observe precautions for handling
ELECTROSTATIC SENSITIVE DEVICES
BEEP
GPI01
P1
GRN
GPI02
GND
OC/TMPR
+VDC
DATA1/CLK
DRAIN
DATA0/DATA
P2
RED
GPI03
HOLD
GPI04
DESCRIPTION
Beeper Input
LED Input (GRN)
Ground (RTN)
+VDC
Unused
LED Input (RED)
Hold Input
GPI01/OSDP (RS485-FDX/HDX-A)
GPI02/OSDP (RS485-FDX-HDX-B)
*Open Collector Output/Tamper
**Wiegand Data 1 / Clock
**Wiegand Data 0 / Data
GPI03 (RS485-FDX-Z)
GPI04 (RS485-FDX-Y)
An ASSA ABLOY Group brand
iCLASS SE/multiCLASS SE
3
Install Reader to Backplate
4
Power & Testing
Turn on power
Note: Previous iCLASS readers had reversed RS-485 wiring (P2-7 & P2-6 - A
& B). When upgrading to an iCLASS SE reader, ensure proper connections
as defined below.
Note: It's possible to reuse existing Wiegand wiring for OSDP, however,
using simple stranded cable typical of Wiegand access control readers is
usually not meeting the RS485 twisted pair recommendations.
Note: For OSDP cable lengths greater than 200ft. (61M) or EMF
interference, install 120Ω +/- 2Ω resistor across RS-485 termination ends.
Note: Wiring the reader incorrectly may permanently damage the reader.
Note: With a keypad reader, operating as 26 bit emulation; upon power up
you have 5 seconds to enter the facility code followed by #. If unsuccessful,
the reader LED displays solid Red. Power-cycle the reader and retry
entering the facility code.
The facility code needs to be manually entered as 3 digits (i.e. if facility
code is 10 enter 0-1-0-#). Note: SE readers only use facility codes between
1-255, and there is no default facility code. Once the facility code has been
entered, the LED will display Violet and then to a final Red. Then power-
cycle the reader. Note: When using a keypad, if there are 2 short beeps
after entering your PIN, the reader does not have a facility code configured
yet. In this event, an Admin will need to be power-cycle the reader and
enter the facility code before the reader will accept your PIN.
Page 2
PLT-01579 A.4
Test card
