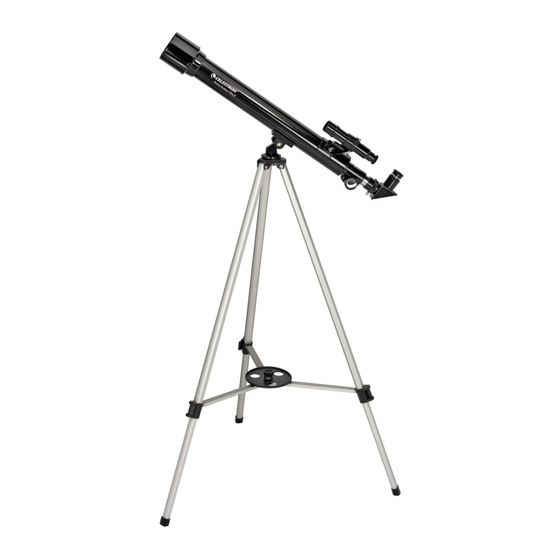
Celestron PowerSeeker 76AZ Instrukcja obsługi - Strona 8
Przeglądaj online lub pobierz pdf Instrukcja obsługi dla Teleskop Celestron PowerSeeker 76AZ. Celestron PowerSeeker 76AZ 10 stron.

- 1. Table of Contents
- 2. Introduction
- 3. Assembly
- 4. Setting up the Tripod
- 5. Attaching the Telescope Tube to the Mount
- 6. Moving the Telescope Manually
- 7. Installing the Diagonal & Eyepiece (Refractor) - 60AZ & 70AZ
- 8. Installing the Diagonal & Eyepiece (Refractor) - 40AZ & 50AZ
- 9. Installing the Eyepiece on the Newtonian
- 10. Installing & Using the Barlow Lens
- 11. Installing & Using the 1.5X Erecting Eyepiece - 40AZ & 50AZ
- 12. Installing the Finderscope (Except 40AZ)
- 13. Aligning the Finderscope
i
d
nSTAlling The
iAgonAl And
The diagonal is a prism that diverts light at a right angle to
the light path of the refractor. This allows you to observe in
a position that is more comfortable than if you had to look
straight through. This diagonal is an erect image model
that corrects the image to be right side up and oriented
correctly left-to-right which is much easier to use for
terrestrial observing. Also, the diagonal can be rotated to
any position which is most favorable for you. To install the
diagonal and eyepiece:
1. Insert the small barrel of the diagonal into the 1.25"
eyepiece adapter of the focus tube on the refractor
– Figure 2-13. Make sure the two thumbscrews on the
eyepiece adapter do not protrude into the focuser tube
before installation and the plug-up cap is removed from
the eyepiece adapter.
i
d
nSTAlling The
iAgonAl And
The diagonal for the 50AZ is called a star diagonal where
the prism corrects the image to be right side up (erect
image) but the image is reversed right-to-left. The diagonal
and eyepieces are .96" diameter sizes. All steps above are
the same with the 50AZ.
i
e
nSTAlling The
yePiece on The
The eyepiece (or ocular) is an optical element that magnifies
the image focused by the telescope. Without the eyepiece
it would be impossible to use the telescope visually.
Eyepieces are commonly referred to by focal length and
barrel diameter. The longer focal length (i.e., the larger
the number) the lower the eyepiece magnification (i.e.,
power). Generally, you will use low-to-moderate power
when viewing. For more information on how to determine
power, see the section on "Calculating Magnification". The
eyepiece fits directly into the focuser of the Newtonian. To
attach the eyepieces:
1. Make sure the thumbscrews are not protruding into
the focuser tube. Then, insert the chrome barrel of the
eyepiece into the focus tube (remove the plug-up cap
of the focuser first) and tighten the thumbscrews – see
Figure 2-15.
i
u
nSTAlling And
Sing The
Your telescope also comes with a 3x Barlow Lens (2x with
the 40AZ) which triples the magnifying power of each
eyepiece. However, the greatly magnified images should
only be used under ideal conditions – see the Calculating
Magnification section of this manual.
To use the Barlow lens with refractors, remove the diagonal
and insert the Barlow directly into the focuser tube. You
then insert an eyepiece into the Barlow lens for viewing.
You can also, insert the diagonal into the Barlow lens and
then use an eyepiece in the diagonal, but you may not be
able to reach focus with all eyepieces.
8
e
(r
yePiece
efrAcTor
e
(r
yePiece
efrAcTor
n
ewToniAn
b
l
Arlow
enS
) – 60AZ
70AZ
And
2. Put the chrome barrel end of one of the eyepieces into
the diagonal and tighten the thumb screw. Again, when
doing this make sure the thumbscrew is not protruding
into the diagonal before inserting the eyepiece.
3. The eyepieces can be changed to other focal lengths by
reversing the procedure in step 2 above.
f
igure
) – 40AZ
50AZ
And
f
igure
2. The 20 mm eyepiece is called an erecting eyepiece since
it corrects the image, so it is right side up and corrected
left to right. This makes the telescope useful for
terrestrial viewing.
3. The eyepieces can be changed by reversing the
procedure as described above.
f
igure
For Newtonian telescopes, insert the Barlow lens directly into
the focuser. Then, insert an eyepiece into the Barlow lens.
Note: Start by using a low power eyepiece as it will be
easier to focus.
f
3
b
l
x
Arlow
enS
2-13
2-14
2-15
2-16
igure
