Celestron 44320 Instrukcja obsługi - Strona 5
Przeglądaj online lub pobierz pdf Instrukcja obsługi dla Mikroskop Celestron 44320. Celestron 44320 8 stron. Digital microscope kit

slides which shine up through the hole in the stage
through the slide. You can see a close up of the
illuminator in Figure 6
A
on by rotating it so the light goes up through the hole.
You turn off the illuminator by rotating it down so that
with this microscope since you have the much better
or decreased by rotating it with very slight movements.
As with the top illuminator, you will have to experiment
USING THE DIGITAL CAMERA FOR VIEWING AND IMAGING WITH YOUR MICROSCOPE
Your microscope camera will work on Windows and Mac
based operating systems, but the installation process for
each is different.
WINDOWS:
· Connect your Microscope camera via the included
USB cable
completion of installation, a desktop icon
· The software should automatically recognize
your microscope camera and begin streaming a
live image
MAC:
· Instead launch one of your Mac's imaging software
· Connect your Microscope camera via the included
USB cable
· Your imaging software of choice, should
automatically recognize your microscope camera
and begin streaming a live image
below. The illuminator is turned
F
6
IGURE
A
to provide the best lighting for the best views.
4. The bottom illumination may be too bright with some
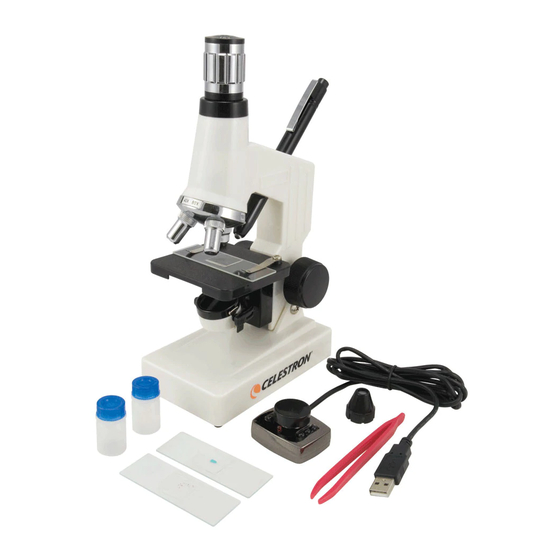
specimen slides. Included with your microscope is a
light diffuser which reduces the brightness and glare
somewhat and can make the views sharper with a higher
contrast level. In Figure 6
piece. The diffuser fits over the bulb area by press fitting
it on. Figure 6
shows what the illuminator looks like with
B
the light diffuser in place. It will take experimenting to
get this right.
F
Please note: Many keyboards on Macs have a USB port.
The microscope will not work through this USB port
because it does not have enough power. You will have
to connect the USB directly to your computer tower.
4
the diffuser is the small black
A
6
IGURE
B
