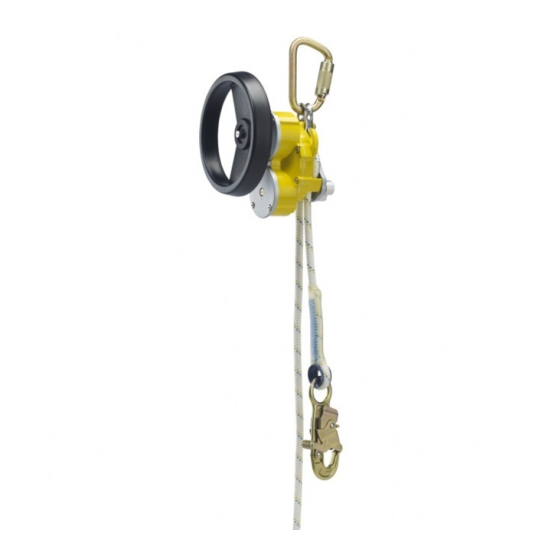
DBI SALA ROLLGLISS R550 Instrukcja obsługi - Strona 4
Przeglądaj online lub pobierz pdf Instrukcja obsługi dla Czujniki bezpieczeństwa DBI SALA ROLLGLISS R550. DBI SALA ROLLGLISS R550 16 stron. Rescue & escape device

Figure 4 - Connecting the R550 Descender
Ladder Bracket
WARNING:
which may result in serious injury.
step 2.
Prepare the Lifeline for Descent: Prior to descent, the section of lifeline between the user and
the R550 Descender must be tightened to remove any slack. Tighten the lifeline by pulling on
the free end of the rope until slack between the user and R550 Descender is removed. Once the
lifeline is taut, hold the free end of the lifeline tightly until descent is initiated.
step 3.
Descend to safety: Release the free end of the lifeline to initiate descent. Descent speed will be
automatically controlled to a rate described in Section 1.2 C by the R550 Descender's centrifugal
brake. Descent may be interrupted by firmly grasping the free end of the lifeline (see Figure 6).
Bend your knees to prepare for landing. After landing, disconnect the lifeline from the body
support.
NOTe:
cAUTION:
parts other than those used to control the descent are touched. Use beyond the specified load and descent
length limits may generate excessive heat which could damage the descent line.
step 4.
Prepare for the Next Descent: After use of the R550 Rescue & Escape Device, the lifeline must
be pulled through the device as needed to position a lifeline end and Snap Hook adjacent to the
next person to descend.
3.5
usE - AssIsTED REsCuE: The R550 Rescue & Escape Device is equipped with a Rescue Hub which can be used in
remote assisted rescues to raise the fall victim to permit removal of their fall arrest subsystem (lanyard, etc.) prior to
descent to safety (see Figure 7). Procedures are as follows:
step 1.
Lower or Raise one End of the Lifeline to the victim: Pull the lifeline through the
R550 Descender as needed until the Snap Hook on one end of the rope is adjacent to the desired
connection point on the victim's body support.
NOTe:
can be attached upside down (
R550 lifeline can be attached to the Eye on the Rope Grab and the Rescue Hub used to raise the victim to safety, or a
point where their initial fall protection system can be released to allow lowering the victim to safety.
to a Ladder
Anchorage
Anchorage Connector
(Web Sling)
Carabiner
Ball Lock Pin
Fixed Ladder
Ladder Rungs
Do not use a body belt with this equipment. Body belts do not support your entire body,
Always wear gloves when handling the lifeline to control descent speed.
The R550 Rescue & Escape Device may become hot during use which could injure the user if
In the event the connection point on the victim's body support is not within reach, the Rope Grab accessory
ò
) on the victim's lanyard and locked in place (see Figure 7). The Snap Hook on the
Figure 5 - Connecting to a Full Body
Front
D-Ring
step 1.
Connect to a Full Body Harness
or other Body support: A full body
harness or other means of supporting
the user must be used with the
R550 Descender. Do not use a body
belt with this device. When using a
full body harness, connect the Snap
Hook on the lifeline to the front or
back D-ring (Figure 5). Ensure the
D-ring is positioned to hold the user
upright. See the full body harness
manufacturer's instructions for more
information.
4
Harness
Back
D-Ring
