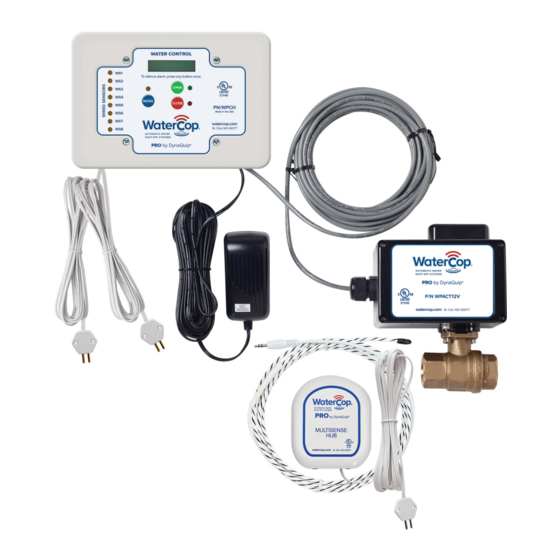
DynaQuip WaterCop Pro WPACT12V Instrukcja obsługi i instrukcja instalacji - Strona 14
Przeglądaj online lub pobierz pdf Instrukcja obsługi i instrukcja instalacji dla Jednostka sterująca DynaQuip WaterCop Pro WPACT12V. DynaQuip WaterCop Pro WPACT12V 16 stron.
Również dla DynaQuip WaterCop Pro WPACT12V: Skrócona instrukcja obsługi (4 strony)

Compression Fittings
The unit can be installed with compression fittings using common household tools and basic
mechanical ability . You will need:
•
two fittings (male pipe thread x compression)
available at most local hardware or plumbing
supply stores;
•
Teflon® tape or thread sealant;
Measure the outside diameter of the copper tube and note the valve size to be sure the proper
size fittings are purchased .
Steps of Installation using Compression Fittings
1 . Remove nuts and sleeves from compression fittings and install fittings into each end of the
valve using Teflon® tape or thread sealant to ensure a watertight seal . Hold one wrench on
flats of valve body and use the other to tighten fittings .
2 . Measure the distance from end to end of valve assembly once fittings are secure . For ½" tube
( ⁵ / ₈ " outside diameter) subtract ½", for ¾" tube ( ⁷ / ₈ " outside diameter) subtract ¾" from your
valve assembly measurement . This is the length of the section of tubing to be cut out of the
existing line . The piece of existing tubing is shorter than the measured length so that the tube
ends extend into the compression fittings .
3 . Select the location for the WaterCop® Valve and Actuator . After cutting the section of tube out
of the line, you will need to shift the tube ends to be able to fit the unit in place . Make sure
you will have access and room to adjust before cutting the tube .
4 . Mark the tube in the location you have selected . Double check the length and location marked .
5 . Turn water off and drain the system .
6 . Use tube cutter to cut copper tube at the locations you have marked . Careful, there will
probably still be some water in the line .
7 . Remove any burrs from tube ends and clean ends .
8 . Install compression nuts and sleeves to each tube end .
9 . Shift tube ends to install WaterCop® Pro Valve in line .
10 . Position the unit and tighten compression nuts . Hold the fitting with one wrench while
tightening the nut with the other . Tighten both nuts .
11 . Plug Water Control Panel into a proper power source and turn valve to OPEN position
(open button/green light) .
12 . Unplug unit, turn water back on and carefully check for leaks .
13 . Plug unit back into power source . Installation is complete .
Solder Fittings
An alternative method is to solder the unit into the water line . This method requires a
considerably higher skill level to accomplish the installation properly and safely . If you are not
skilled in this area, it is strongly recommended that you contact a professional plumber to do this
type of installation .
Electrical Connection
The Water Control Panel is supplied with a power adapter . Consult local electrical codes as to
the necessity of ground fault protection . It is recommended that the Water Control Panel not be
plugged into an extension cord . Review "Specification" current and power requirements so as
not to overload the circuit supplying power .
14
•
tubing cutter;
•
ruler;
•
pencil or marker;
•
two large adjustable wrenches .
