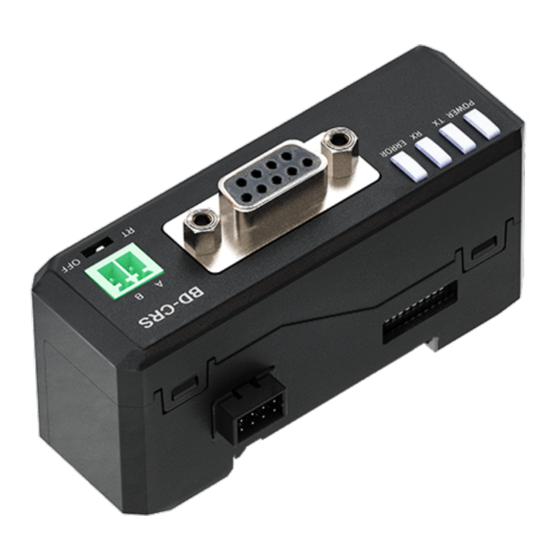
Autonics BD-CRS Instrukcje - Strona 3
Przeglądaj online lub pobierz pdf Instrukcje dla Konwerter mediów Autonics BD-CRS. Autonics BD-CRS 3 stron. Laser displacement sensor communication converter

Communication Setting
■ Communication setting switch
Communication
Address
speed
Switch 3 to 7: Address
Switch No. 3
4
5
6
Binary digit
OFF = 0
2
2
2
2
4
3
2
1
ON = 1
Address 1
OFF OFF OFF OFF OFF 1=0×2
Address 2
OFF OFF OFF OFF ON
Address 3
OFF OFF OFF ON
..
..
..
..
..
Address 16
OFF ON
ON
ON
..
..
..
..
..
Address 31
ON
ON
ON
ON
Address 32
ON
ON
ON
ON
Switch 8, 9: Parity bit
Switch 10: Stop bit
Parity bit 8
9
Stop bit
Even
ON
ON
2 bit
Odd
OFF
ON
1 bit
None
ON
OFF
None
OFF
OFF
Installation Method
■ Mounting on DIN rail
Installation
Insert bottom holder of communication
converter to 35 mm width DIN rail and
Push the front part of the unit to arrow
direction to mount.
■ Connecting to amplifier unit
②
①
③
■ Communication system configuration
Distinguishing master/slave amplifier units
Comm.
• Max. 8 units
converter
Amplifier unit
Master
Slave
Precautions when connecting amplifier unit
• Mount on DIN rail.
• Do not supply the power when adding amplifier unit.
• Supply power to each connected amplifier unit at the same time.
• Up to 8 amplifier units can be connected, and only 1 calculation function can be
performed per 1 group of mutually connected amplifiers.
• When the calculation function is activated, the setting values (SV) of the slave units are
disable and the mutual interference prevention function for sensor heads is executed
automatically.
Switch 1, 2:
Communication speed
ON
Communication
1
2
speed
OFF
ON ON 9,600 bps
OFF ON 19,200 bps
ON OFF 38,400 bps
Parity
Stop
OFF OFF 115,200 bps
bit
bit
7
Address
Address= switch3×2
+switch4×2
4
2
+switch5×2
+switch6×2
0
2
+switch7×2
+1
0
+0×2
+0×2
+0×2
+0×2
4
3
2
1
2=0×2
+0×2
+0×2
+0×2
+1×2
4
3
2
1
OFF 3=0×2
+0×2
+0×2
+1×2
+0×2
4
3
2
1
..
..
ON
16=0×2
+1×2
+1×2
+1×2
4
3
2
1
..
..
OFF 31=1×2
+1×2
+1×2
+1×2
4
3
2
1
ON
32=1×2
+1×2
+1×2
+1×2
4
3
2
1
10
ON
OFF
Separation
ⓐ
ⓑ
Push amplifier unit to ⓐ direction and
pull the assembly part to ⓑ direction to
detach.
Remove the side cover (①) at the connecting side
and connect the side (②) connector to the units.
After mounting amplifier unit and communication
unit on DIN rail, push it to arrow direction (③)
tightly.
• In case of disconnecting, follow the upper
sequence reversely.
When the power cable direction
is down, the amplifier at the
left end is the master unit, and
the channel number of slaves
increases sequentially to the right.
Communication converter is
connected to the left side of master
amplifier unit.
3
1
+1
0
+1
0
+1
0
+1×2
+1
0
+0×2
+1
0
+1×2
+1
0
18, Bansong-ro 513Beon-gil, Haeundae-gu, Busan, Republic of Korea, 48002
www.autonics.com | +82-51-519-3232 | [email protected]
